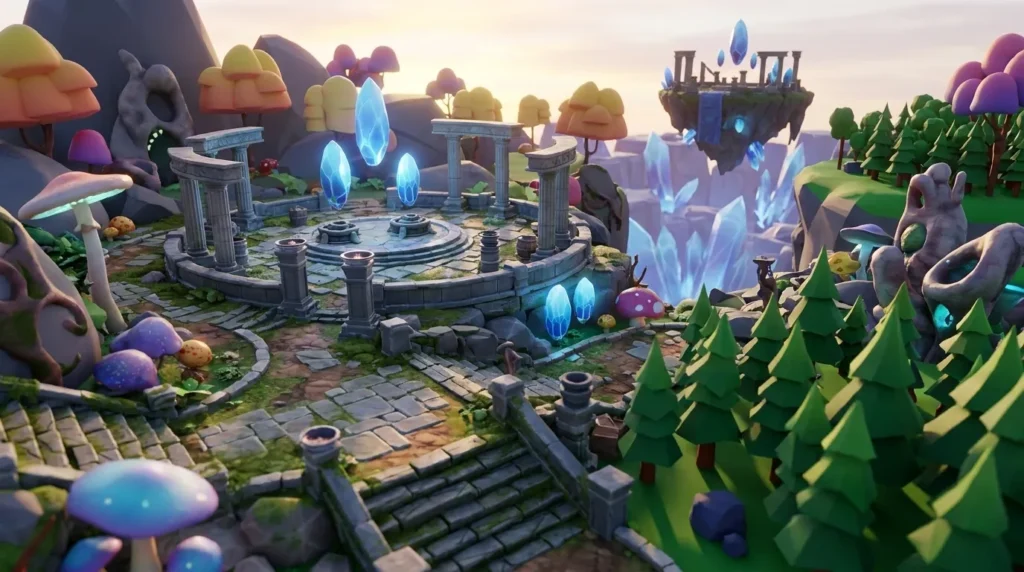
Written by: Nuno Leiria, Founder & CEO @ Nilo | Last updated: July 8, 2026
What You’ll Learn in This Guide
- Traditional Roblox mesh workflows jump between AI tools, Blender, and Roblox Studio, which slows you down and breaks your focus.
- Nilo cuts out most of that grind by generating, cleaning up, rigging, and exporting Roblox-ready meshes directly in your browser.
- Clear performance targets matter: props usually work well under 5,000 triangles, characters under 10,000, with textures at or below 4,096×4,096 pixels.
- Real-time LOD controls and one-click rigging in Nilo replace manual retopology and rigging, so you move from idea to mesh in minutes.
- Try Nilo’s browser-based workflow to generate, refine, and export Roblox-ready meshes without leaving your tab.
Step 1: Lock In Your Roblox Performance Targets
You build better meshes when you know Roblox’s limits before you start. Roblox enforces strict polygon budgets on every imported mesh.
Roblox’s 3D Importer caps individual meshes at around 10,000 triangles, so you want to design with that ceiling in mind from the first prompt. In practice, humanoid characters should stay under 10,000 triangles (excluding accessories) to stay safe, while props work best under 5,000 triangles because most Roblox players are on mobile devices. Textures add their own performance cost, so Roblox restricts them to PNG, JPG, TGA, or BMP at a maximum resolution of 4,096×4,096 pixels.
Set these as your starting targets:
- Props: under 5,000 triangles
- Characters: under 10,000 triangles (excluding accessories)
- Hard limit: 10,000 triangles per mesh
- Texture resolution: 4,096×4,096 pixels maximum
- Export format: FBX for rigged or animated models, OBJ or GLB for static geometry
Lower triangle counts give you faster load times and smoother mobile performance, while extreme reduction can blur small details. For most Roblox props and characters, staying between 5,000 and 10,000 triangles hits a solid balance. With these performance targets in place, you are ready to create the actual mesh, starting with how you want to generate it.
Step 2: Generate a Base Mesh from Text, Sketch, or Image
Nilo lets you spin up 3D characters, weapons, and detailed props in seconds from a sketch or a prompt. You can start in three different ways.

- Text prompt: Type a description like “low-poly medieval sword” or “cartoon mushroom prop” and Nilo generates a base mesh in seconds.
- Sketch-to-3D: Draw a rough 2D shape, tweak it with AI by changing colors or style, then push it into 3D. This path gives you more control over the silhouette before you commit to a mesh.
- Image input: Upload a reference image and Nilo uses it as the source for generation.
Nilo’s AI layer pulls from several providers, including Meshy and Tripo, behind one interface, so you get strong results without juggling extra accounts. Text prompts are the fastest but give you less control over the outline of your model. Sketch and image inputs take a bit longer but usually land closer to what you pictured. Once your base mesh matches your idea, the next step is optimization, where you reduce triangles so Roblox can import and run your mesh smoothly.
Step 3: Clean Up Topology with Real-Time LOD Controls
Nilo’s cleanup flow keeps you in one place instead of bouncing between Meshy, Blender, and Roblox Studio. Nilo trims polycount so your models work directly in Roblox Studio and other engines without extra tools.

Inside Nilo, a real-time LOD slider lets you lower triangle count and see the result instantly in the viewport. Drag the slider toward lower detail and watch the mesh simplify in front of you, with no Blender session and no manual retopology. A raw AI mesh might arrive at 40,000 to 80,000 triangles with messy, overlapping geometry. After Nilo’s optimization, the same asset can sit under 5,000 triangles with cleaner edge flow.
Most AI-generated 3D assets still need retopology, UV cleanup, and PBR checks before they are ready for game engines, and Nilo handles those steps automatically in your browser. Automatic retopology is fast and removes most of the Blender grind. For very specific hero assets, such as a face that needs perfect deformation, you can still export and refine in Blender afterward. For almost all Roblox props and characters, Nilo’s automatic optimization is enough. Once your triangle count matches the targets you set earlier, you can move on to rigging.
Step 4: Rig and Animate Characters with One Click
Character assets need a skeleton so they can move in Roblox, and that skeleton comes from rigging. In tools like Blender, rigging a character correctly can take hours. In Nilo, you click once and get a full rig.
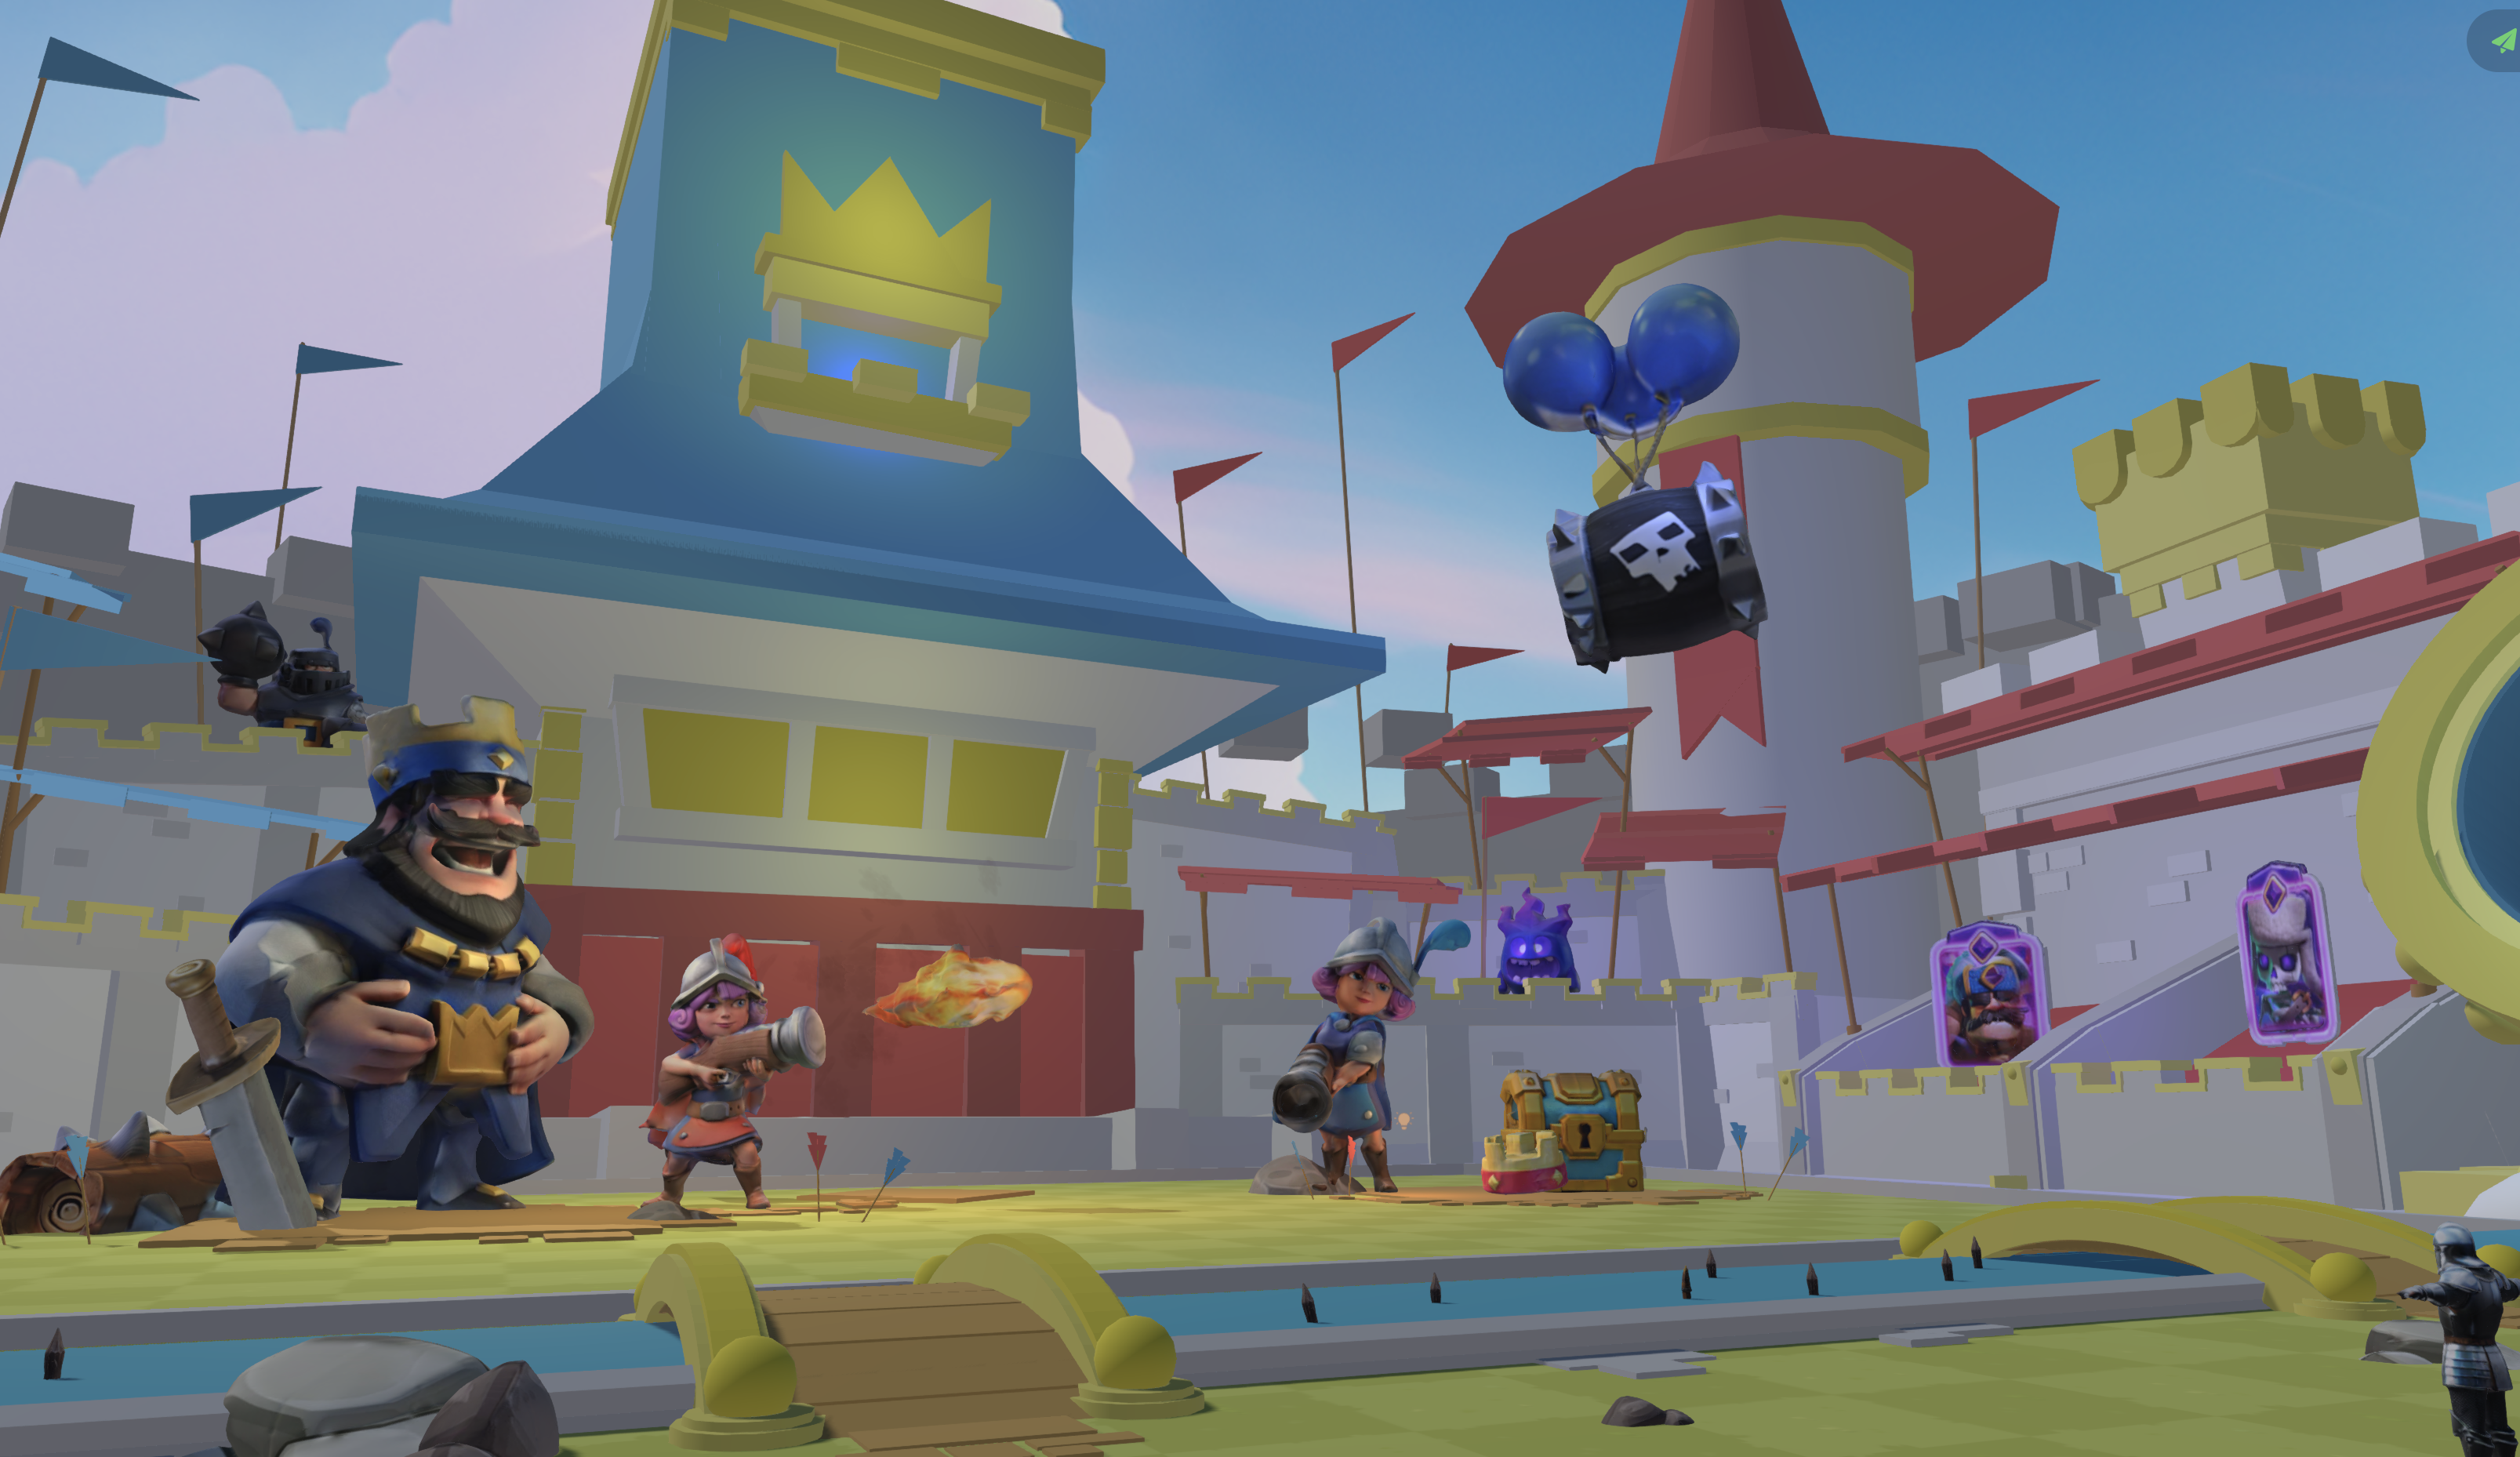
After you rig the mesh, you can generate animations from text. Type “walk cycle” or “sword swing” and Nilo creates the motion for you. Nilo supports animation retargeting for Mixamo and text-to-motion through its Uthana integration, so animated characters export cleanly for Roblox.
One-click rigging works well for most humanoid and creature shapes. Very unusual or asymmetric models might still need weight paint tweaks after export. For static props like weapons, furniture, or environment pieces, you can skip rigging completely and jump straight to export.
Step 5: Export Your Mesh and Check It in Roblox Studio
When your mesh looks right, click Export in Nilo, choose FBX for rigged or animated models or OBJ/GLB for static props, and download the file. Then open Roblox Studio and run through this quick checklist before you publish.

- Triangle count matches the targets you set in Step 1.
- Texture resolution stays at or below 1,024×1,024 pixels for in-game use.
- No import errors appear in Roblox Studio’s 3D Importer.
- Mesh scale looks correct in the scene, with Roblox using 1 stud as about 0.28 meters.
- Rigged models have bones frozen at scale 1,1,1 and rotation 0,0,0.
- Character faces positive Z and stands upright along positive Y.
Meshes above Roblox’s triangle limit get rejected by the 3D Importer, so checking your count before import saves you a failed upload. When everything passes, your mesh is live in Roblox Studio and ready to drop into your game. Export your first Roblox-ready mesh in Nilo and see this workflow in action.
Three Roblox Mesh Workflows You Can Choose From
You have three main ways to create Roblox meshes today, and each one feels different when you build.
| Workflow | Tools Required | Retopology | Roblox Export | Stays in Creative Flow |
|---|---|---|---|---|
| Nilo (integrated browser workflow) | Browser only, no installs | Automatic, real-time LOD slider | One-click FBX/OBJ/GLB export | Yes, generate, refine, rig, and export in one place |
| Traditional Blender cleanup | AI generator, Blender, Roblox Studio | Manual, often 30 minutes or more per asset | Manual FBX export from Blender | No, three tools and constant context switching |
| Standalone AI generators (for example, Meshy) | AI generator, Blender for cleanup, Roblox Studio | Output usually needs UV and topology fixes before import | Requires extra cleanup steps | No, fast generation but cleanup slows you down |
The main difference between these paths is where the friction shows up. Blender gives you deep control but asks for a lot of technical time per asset. Standalone AI generators like Meshy are quick for early ideas and concept tests, and work best for ideation instead of final production because the topology still needs cleanup. Nilo stands out by combining fast generation with automatic optimization and direct export in a single browser tab, so you avoid tool-switching and retopology grind.
Common Roblox Mesh Problems and Fast Fixes
Even with a smooth workflow, a few issues pop up often, and you can spot them early if you know what to look for.
- Geometry defects (melted or asymmetric shapes): Early sign, the mesh looks distorted in Nilo’s viewport before export. Fix this by regenerating with a more specific prompt or switching to sketch or image input for tighter silhouette control. Nilo’s multi-provider AI layer also lets you try a different generation model without leaving the platform.
- Texture stretching: Early sign, textures look warped or smeared on curved surfaces in Roblox Studio. Fix this by checking that UV mapping uses a single UV set inside the 0–1 space and that your export settings did not create overlapping UVs.
- Pivot or position errors (floating accessories): Early sign, a hat or accessory appears offset from the character in Roblox Studio. Fix this by confirming that all transforms are frozen before export and the root joint sits at the origin.
- Polygon count warnings on import: Early sign, Roblox Studio flags the mesh during import. Fix this by returning to Nilo’s LOD slider, lowering the triangle count, and exporting again while keeping your original targets in mind.
Most of these problems show up in Nilo’s viewport if you pause and check after optimization. Catching them there saves you extra trips back and forth with Roblox Studio. Once your mesh clears these checks, you can confirm that it is fully Roblox-ready.
How to Confirm Your Mesh Is Roblox-Ready
A Roblox-ready mesh hits a few clear checkpoints that you can test quickly.
- Imports into Roblox Studio without any error messages.
- Triangle count stays within the budget you set at the start.
- Texture resolution stays at or below your chosen in-game limit.
- Scene runs at 30 frames per second or higher on mobile hardware.
- Passes Roblox Studio’s performance check without warnings.
- Rigged models animate without strange full-body warping.
- Scale, pivot, and orientation all look correct in the scene.
Lower-polygon models usually give you smoother frame rates on mobile compared to heavy meshes, so your triangle budget protects both imports and gameplay. When all of these indicators look good, your mesh is ready to publish. Start building Roblox-ready meshes in Nilo and test them against this checklist.
Frequently Asked Questions
Do I need 3D modeling experience to use Nilo?
You can use Nilo even if you have never opened Blender. If you can describe what you want with a text prompt, a sketch, or a reference image, Nilo handles the technical work. You do not need to understand UV mapping or polygon budgets to get started, because the LOD slider and automatic retopology handle optimization for you. Nilo still teaches real concepts like topology and rigging through its interface, so you pick up the language of 3D while you build.
What file formats should I export for Roblox?
Nilo exports FBX, OBJ, STL, and glTF (GLB). For Roblox, choose FBX when your model is rigged or animated, because it keeps bone data and materials together. Use OBJ or GLB for simple static props that do not move. Roblox Studio usually handles FBX best for anything that needs to bend or deform. Nilo prepares exports to stay within Roblox’s polygon and texture limits before you download.
How long does it take to go from prompt to Roblox Studio?
For a static prop, you can usually generate, adjust with the LOD slider, export, and import into Roblox Studio in a few minutes. For a rigged and animated character, you might add a minute or two for rigging and animation generation. The traditional path of using a standalone AI tool, then Blender for cleanup, then Roblox Studio can stretch to 30 minutes or more per asset. Builders consistently report that Nilo cuts that modeling time from hours down to minutes.
Does Nilo work on mobile, and do I have to install anything?
Nilo runs fully in your browser, so you do not install anything or need a high-end PC. It works on both desktop and mobile browsers. Nilo’s engine uses WebAssembly and WebGPU to deliver real game-engine performance in a tab, and you can share a link so friends can jump in and build with you from any device.
Can I sell meshes I create in Nilo on the Roblox Marketplace?
Yes. Anything you create in Nilo, including models, skins, and UGC items, belongs to you. You can publish and monetize your work on the Roblox Marketplace or anywhere else. Nilo exports to standard formats that work with Roblox, Unity, Unreal Engine, Blender, VRChat, and other 3D tools, so your assets travel with you.
Build Roblox-Ready Meshes in Minutes
You can move from idea to Roblox-ready mesh without touching Blender. Set your triangle and texture targets, generate from text, sketch, or image, clean up topology with the LOD slider, rig with one click when you need motion, and export FBX straight into Roblox Studio.
Nilo is in open beta, free to use, and backed by Supercell. Over 9,000 aspiring builders and already builders like you are active in the Discord community. The fastest way to see if this workflow fits how you like to build is to try it yourself. Try the full workflow in Nilo’s open beta and see how quickly you can go from idea to Roblox Studio.



