Written by: Nuno Leiria, Founder & CEO @ Nilo
Key Takeaways for Your 2026 Roblox Clothing Workflow
- Roblox now charges 10 Robux to upload classic 2D shirts and pants, ending years of free uploads as of March 2026.
- You must hold an active Premium 1000 or 2200 subscription to sell 2D clothing publicly on the platform.
- The full workflow includes downloading updated templates, designing in a PNG editor, exporting correctly, and waiting through moderation that can take up to 48 hours.
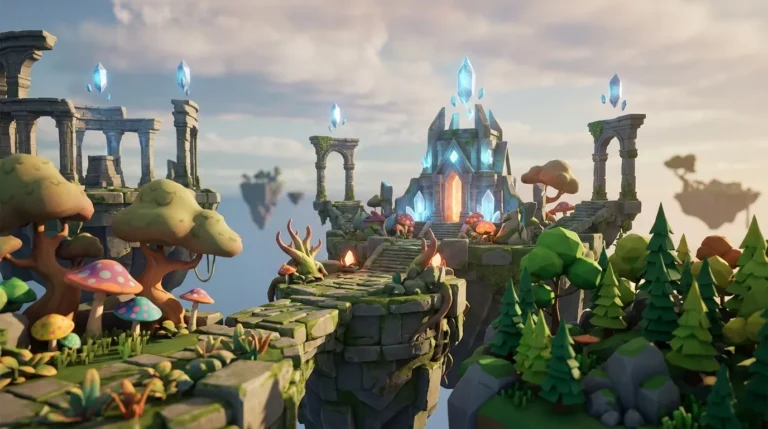
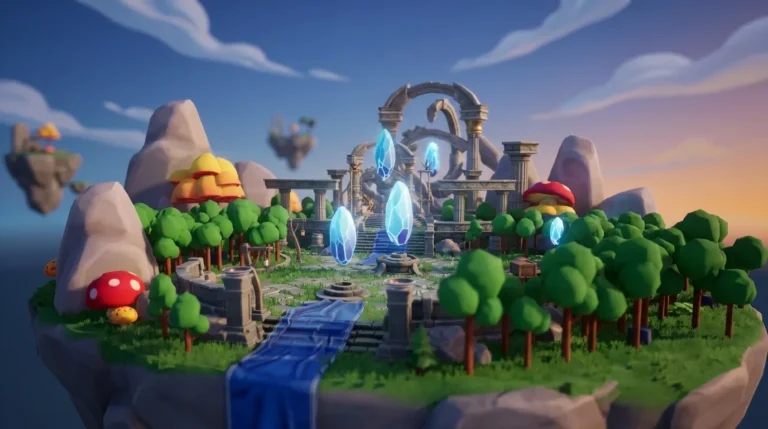
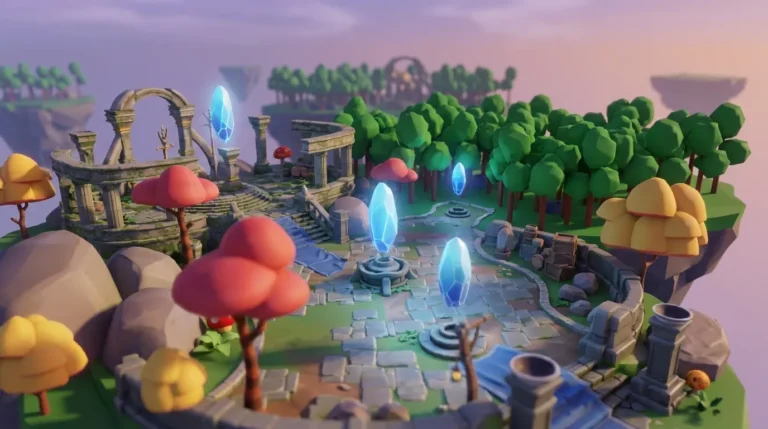
- Roblox is actively steering creators toward 3D layered clothing and UGC, with lower upload fees and better animation support for those formats.
- Ready to skip the 2D template grind? Try Nilo’s browser-based 3D creator and start building and playing for free.
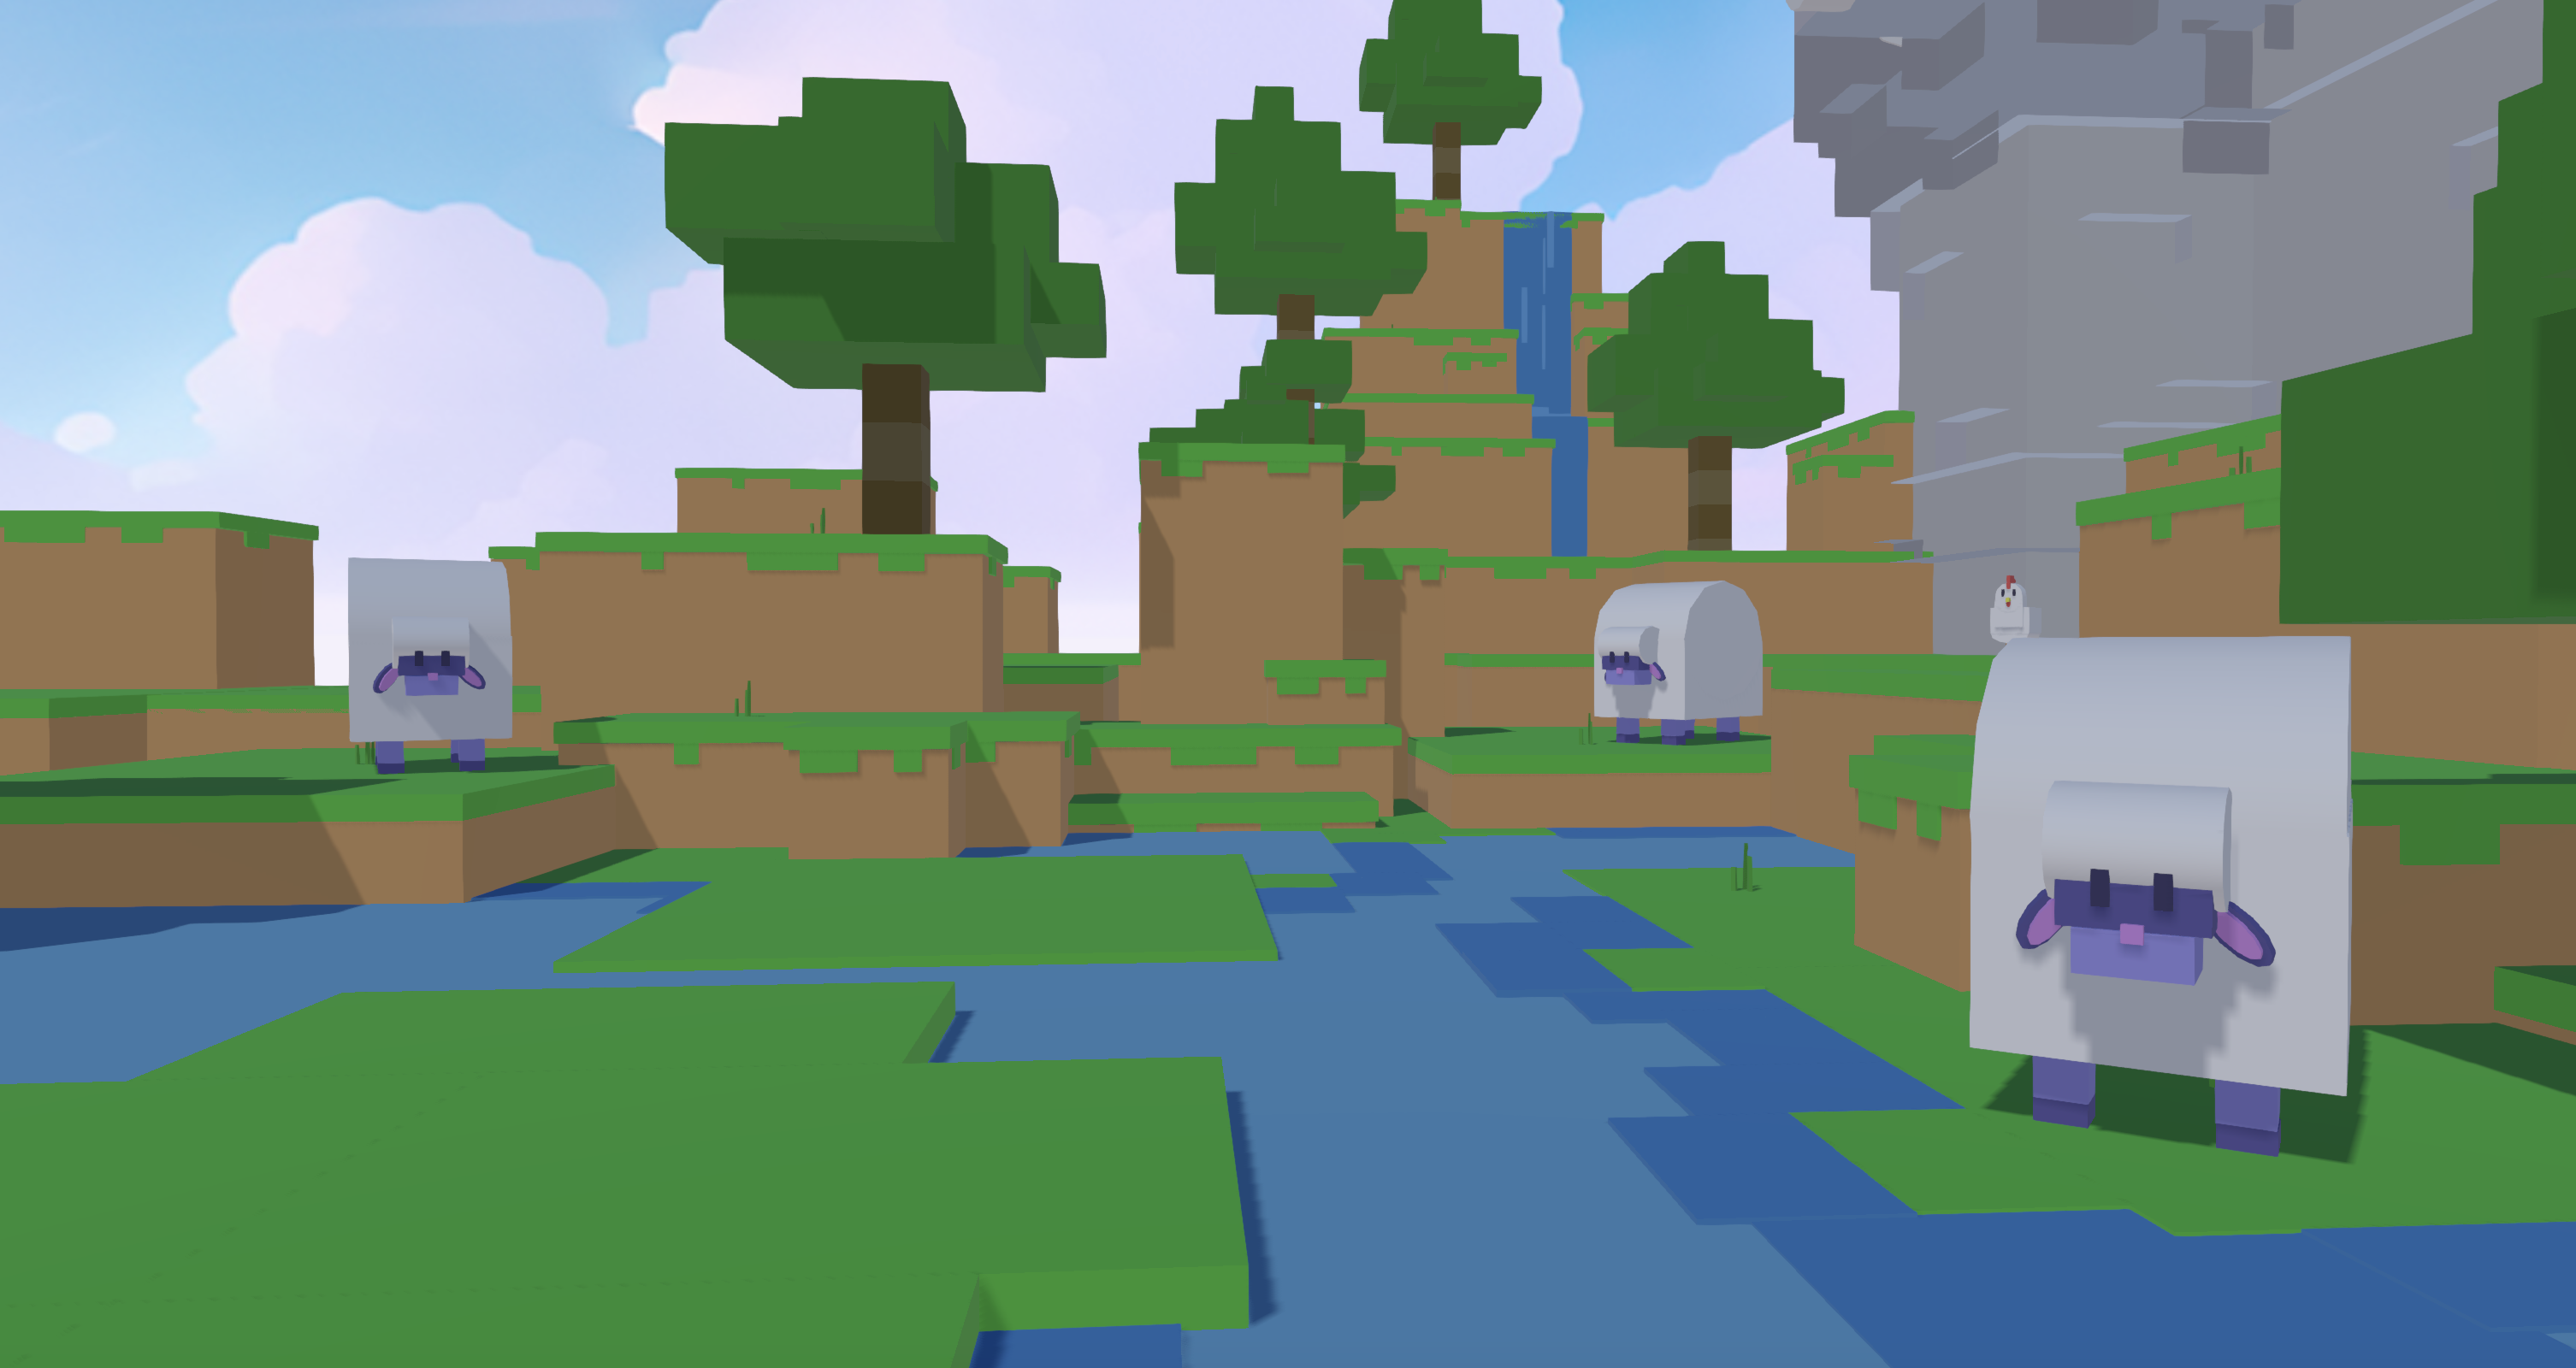
Why Classic Roblox Clothing Still Matters in 2026 (Even As It Gets Harder)
Classic 2D shirts and pants still give you a simple way to show your avatar’s style on Roblox. Roblox’s March 2026 policy updates added new requirements that make this workflow tougher. Uploading now costs Robux, and selling 2D classic clothing on Roblox requires an active Premium 1000 or 2200 subscription. These changes sit alongside a clear push toward 3D layered clothing and UGC items.
If you still follow a 2024 tutorial, you miss key steps that can block your upload. Mobile creation adds more friction, because the Roblox app does not support clothing uploads directly, so you need a desktop workaround. A dynamic price floor now controls minimum prices, so setting your price too low can get your item rejected before review even starts.
Roblox Custom Clothing Tutorial: 7 Steps to Create and Upload Classic Shirts and Pants
Step 1: Download the Latest Roblox Shirt and Pants Templates
Go to the Roblox DevForum or the official Roblox Creator Hub and grab the current PNG templates. Shirts use a 585×559 pixel layout mapped across the torso, arms, and collar. Pants use a layout that covers the torso and legs. Always work with the latest templates, because older versions place seams differently and can leave visible gaps on your avatar.
Step 2: Pick a Free or Low-Cost Editor That Fits Your Setup
Desktop: GIMP, Photoshop, or Krita all handle layered PNG files well. Open the template as a base layer, then build your design on layers above it.
Mobile: You can design on mobile with apps like Pixaki or Sketchbook that support transparent PNGs. The Roblox mobile app does not let you upload clothing, so you must move your finished PNG to a desktop browser and upload from there. Plan for that extra transfer step in your workflow.
Step 3: Use Smart Layering and Transparent PNG Rules
Keep the template guide lines on their own layer, then hide that layer before export. Your design needs a transparent background, because any solid pixels outside the clothing area will appear as blocks on your avatar. Use the template’s color-coded zones to line up seams across the front, back, and sides. Test your design against both dark and light backgrounds, since Roblox renders avatars in many lighting setups.
Step 4: Export at the Correct Resolution and File Type
Export your final design as a PNG file. Roblox handles scaling internally, so exporting at the native template size of 585×559 works reliably. Avoid JPEG exports, because compression artifacts blur edges and can even trigger moderation flags.
Step 5: Upload on the Roblox Website and Pay the 10 Robux Fee
Open a desktop browser and go to Create → Classic Clothing → Upload on the Roblox website. Select your PNG, choose Shirt or Pants, name your item, and confirm. As of March 6, 2026, uploading classic T-shirts costs 10 Robux, and shirts and pants use the same fee. Check that your account balance covers each upload before you start testing versions.
To sell your item publicly, you must hold an active Roblox Premium 1000 or Premium 2200 subscription. Without that subscription, you can still upload and wear your designs, but you cannot monetize them.
Step 6: Handle Approval Delays and Fix Common Errors
After you upload, your item enters Roblox’s moderation queue. Common rejection reasons include text or logos that look close to real-world brands, skin-tone designs that could be mistaken for inappropriate content, and images with solid backgrounds instead of transparency. If your item gets rejected, adjust the specific problem and upload again. Each new attempt costs another 10 Robux, so review carefully before you resubmit.
Step 7: Wear Your Design, Set a Price, and Iterate
Once Roblox approves your item, equip it from your inventory and test it in different games. To sell it, open the item page, click Configure, set a price above the minimum, and publish. Roblox takes a 30% marketplace fee on every sale, so choose a price that covers that cut and still feels fair to buyers.
Now that you have finished a full upload cycle, you might feel ready to move beyond flat templates and into 3D. Start exploring Nilo’s AI-powered 3D creator directly in your browser.
Why Roblox Charges 10 Robux to Upload a Shirt
Roblox’s March 2026 marketplace safety update introduced upload fees for 2D classic clothing to cut down on spam and low-quality floods. The upload fee mentioned earlier covers shirts, pants, and T-shirts, whether you plan to wear them yourself or sell them.
At the current approximate exchange rate, 10 Robux costs about $0.10 USD. That feels small for a single design, but it adds up when you test many versions or fix repeated rejections. Careful planning and local testing help you avoid paying for preventable mistakes. At the same time, Roblox reduced 3D UGC upload fees from 750 Robux to 300 Robux, which clearly signals a long-term focus on 3D items.
Roblox Clothing Approval Times in 2026
Most classic clothing items reach a decision within a few hours to 24 hours when traffic stays normal. During busy moments such as big game launches, seasonal events, or new policy rollouts, queues can stretch to 48 hours or more. Roblox does not offer any way to skip ahead in the line.
You can reduce friction by uploading during off-peak hours in your timezone, avoiding designs with heavy text or complex patterns, and double-checking transparency before you submit. If nothing changes after 72 hours, check your email for a moderation notice, because rejections do not always appear as in-app alerts.
Why Roblox Is Moving Away from 2D Clothing
Classic 2D shirts and pants work as flat textures wrapped around a fixed avatar body. They do not bend naturally with animations, cannot stack over other clothing items, and look flat next to modern 3D layered clothing. As of March 24, 2026, Roblox archived all existing classic faces after replacing them with dynamic head versions in the catalog, which shows the same shift toward 3D systems.
Fee changes and Premium requirements for 2D clothing publishing reinforce this direction. Roblox continues to invest in layered clothing and UGC systems, where items drape over avatars, collide with other pieces, and move in full 3D space.
2D Classic Clothing vs 3D Avatar Skins: Quick Comparison
| Aspect | Classic 2D Clothing | 3D Layered / UGC | Nilo 3D |
|---|---|---|---|
| Creation tool | Image editor (GIMP, Photoshop) | Blender or Roblox Studio | Browser, no installs needed |
| Technical barrier | Low, basic 2D design skills | High, rigging and UV mapping | Low, use a text prompt, sketch, or image |
| Upload cost | 10 Robux per item | 300 Robux per item (reduced from 750) | Generate in Nilo, then export to Roblox Studio |
| Selling requirement | Premium subscription required | UGC program access required | Export-ready, sell through Roblox marketplace |
| Animation compatibility | Flat texture, no draping | Bends and layers with avatar | Rig and animate with one click |
| Mobile creation | Design on mobile, upload on desktop | Desktop required | Works in any modern browser |
Ready to Skip the 2D Template Grind? Meet Nilo
After you run through the 7-step classic clothing workflow a few times, the friction becomes obvious. Every rejected upload costs 10 Robux. Every new version sends you back to your image editor, then through export, upload, and moderation again. The final result still behaves like a flat texture that does not move naturally with your avatar.
Nilo stands out as a browser-based AI platform built for Roblox creators who want to move past that loop. Instead of editing flat PNGs, you create full 3D avatar skins and props using text prompts, sketches, or reference images directly in your browser, with no downloads or Blender setup. Nilo’s Workbench feature lets you build custom UGC clothing and textures, generate AI-powered designs, and export them ready for Roblox Studio.
Nilo optimizes polycount automatically, so your models stay within Roblox’s performance limits of roughly 10K–20K triangles without manual cleanup. In a February 2026 Nilo survey, aspiring builders and already builders like you reported big time savings: “I do not have to spend hours on 3D modeling the simplest things. Now I can use Nilo and do it in 15 seconds.” In that same survey, 93% of builders said they would recommend Nilo to a friend, and 82% rated their experience as “Awesome” or “Good.”
With Nilo, your 3D avatars rig and animate with one click and export directly to Roblox Studio in FBX or GLB format. If you feel ready to leave 2D templates behind, Nilo’s AI-native workflow gives you Roblox-ready 3D assets in minutes, without spending a bunch of money on extra tools.
Explore Nilo’s open beta and see how fast you can go from idea to playable 3D item.
Frequently Asked Questions
Can I make Roblox clothes for free in 2026?
You can design clothing for free with tools like GIMP or Krita. Uploading now uses the 10 Robux fee mentioned earlier for each item. To sell your clothing publicly, you also need an active Roblox Premium 1000 or Premium 2200 subscription. Roblox no longer offers a fully free upload path for classic shirts, pants, or T-shirts.
How do I make pants on Roblox mobile?
You can design your pants template on mobile with an image editor that supports transparent PNG files, such as Sketchbook or Pixaki. The Roblox mobile app does not support clothing uploads, so you must move the finished PNG to a desktop browser. Upload through the Roblox website under Create → Classic Clothing and budget extra time for that transfer step.
Why does it cost 10 Robux to upload a shirt on Roblox?
Roblox introduced the 10 Robux upload fee in March 2026 as part of a marketplace safety update that targets spam and low-quality floods. The fee covers all classic 2D clothing types, including shirts, pants, and T-shirts, whether you keep them for yourself or sell them. On the same date, Roblox cut 3D UGC upload fees from 750 Robux to 300 Robux, which highlights a shift in focus toward 3D items.
How long does Roblox clothing approval take in 2026?
Under normal conditions, most classic clothing items receive a decision within a few hours to 24 hours. During busy periods, approval can stretch to 48–72 hours. Designs that include text, complex patterns, or elements that resemble real-world brands often take longer or get flagged for manual review. Check your email for moderation messages, because rejections do not always appear as in-app alerts.
What happens to my old Roblox clothing after the March 2026 policy changes?
All 2D clothing items you already bought stay in your inventory and still work after the March 2026 changes. However, sellers needed to subscribe to Roblox Premium by July 31, 2026 to keep previously listed classic clothing items on sale. Items from creators who did not meet the Premium requirement by that deadline were removed from the marketplace, but buyers kept access in their inventories.
Conclusion and Your Next Step
Creating classic Roblox clothing in 2026 still works, but it now takes more planning and a bit of Robux. Download the correct template, design in a PNG-compatible editor, export at the right resolution, pay the 10 Robux upload fee, and keep a Premium subscription if you want to sell. Expect approval to take up to 24 hours in normal times and longer during busy windows.
This workflow remains valid, yet it feels slow and repetitive, and it does not match Roblox’s clear shift toward 3D. The current fee structure even makes many 3D UGC items cheaper to upload than classic 2D clothing used to be.
If you want avatar items that move naturally, layer over other clothing, and stand out in the marketplace, 3D creation gives you that path. Nilo stands out by giving you a fast route into 3D, with no Blender setup, no manual retopology, and no polycount headaches. You generate, rig, and animate with one click, then export Roblox-ready 3D assets straight from your browser.
Try Nilo’s open beta today and start building 3D Roblox items in minutes.