Written by: Nuno Leiria, Founder & CEO @ Nilo | Last updated: July 24, 2026
Why This One-Tab Rigging Workflow Matters
- Traditional multi-tool rigging workflows like Meshy → Blender → Mixamo → Roblox Studio eat hours and kill your creative flow.
- Nilo keeps your whole generate, rig, animate, and export workflow in one browser tab, so you never bounce between installs.
- One-click AI auto-rigging spots humanoid, quadruped, or custom creature skeletons and finishes the rig in seconds.
- Built-in LOD controls and real-time polycount tools help you stay inside Roblox’s triangle limits without manual retopology.
- Try the full workflow for free and see how Nilo speeds up your Roblox character pipeline.
Step 1: Generate or Import Your Character Model
Open a Nilo world and use the Craft Your Model tool. Type a text prompt, upload a sketch, or drop in a reference image. Nilo’s model-agnostic AI layer routes your request through providers like Meshy, Tripo, and others, so you get a strong result without choosing a provider yourself.

Typical generation time stays under 60 seconds. Before you hit generate, make two choices that affect both your rig and how you use your monthly credits.
- Character type: Pick humanoid for a player avatar or NPC, or creature for quadrupeds, fantasy beasts, or non-standard anatomy. This choice guides which skeleton structure the AI will apply.
- Credit use: You get 1,000 free Nilo Bits per month. Generation uses Bits, while basic building features stay free, so plan how many characters you want to create.
If you already have a model from another tool, import it directly as FBX, OBJ, or GLB. FBX is the preferred format for rigged characters because it carries skeleton and animation data in a single file.
Step 2: Apply One-Click Auto-Rigging in Your Browser
Select your model and click the rig button. Nilo’s AI analyzes the mesh, detects limbs, places joints, and computes skin weights automatically. Manual rigging asks an artist to place every bone and paint weights by hand, which can take hours per character. Nilo’s one-click rigging finishes the same job in seconds, and you skip Blender cleanup entirely.

The table below shows how you can compare rigging workflows side by side. Pay attention to how many tools you need, whether installs are required, how much manual cleanup appears, and how quickly the output becomes Roblox-ready.
| Workflow | Tools Required | Install Required | Manual Cleanup | Roblox Export Readiness |
|---|---|---|---|---|
| Nilo (one-click rigging) | 1 (browser tab) | None | No Blender cleanup | Roblox-ready in seconds |
| Meshy → Mixamo → Roblox Studio | 3+ | Roblox Studio install required | Manual refinement often needed | Requires manual polycount check |
| Meshy → Blender → Mixamo | 3 | Blender install required | Retopology, T-pose correction, manual export steps | Not tuned for Roblox limits by default |
| Sloyd Avatar Creator | 1 (browser) | None | Limited to preset mannequin geometry | GLB export within Roblox polygon limits |
Test one-click rigging on your own model in a new Nilo world and feel the difference from multi-tool setups.
Once you rig your first character, you will notice that not every model follows the same skeleton structure, which makes creature rigging its own challenge.
Handling Creatures vs Humanoids in Nilo
Creature characters need different skeleton setups than bipeds. Quadrupeds, fantasy beasts, and other non-standard creatures often use longer spine chains, adapted shoulder joints, and leg layouts that do not match a human template.
Humanoid auto-rigging works well when your model follows a standard biped structure. Creature characters such as wolves or dragons need different joint chains and shoulder setups, which usually means extra prep work in traditional tools.
Nilo’s AI detects your character archetype automatically. The system checks whether your character is humanoid, quadruped, or a custom creature and shows a real-time bone preview so you can confirm before you continue. You skip manual marker placement and skeleton dropdowns, and the rig adapts to your model’s actual geometry.
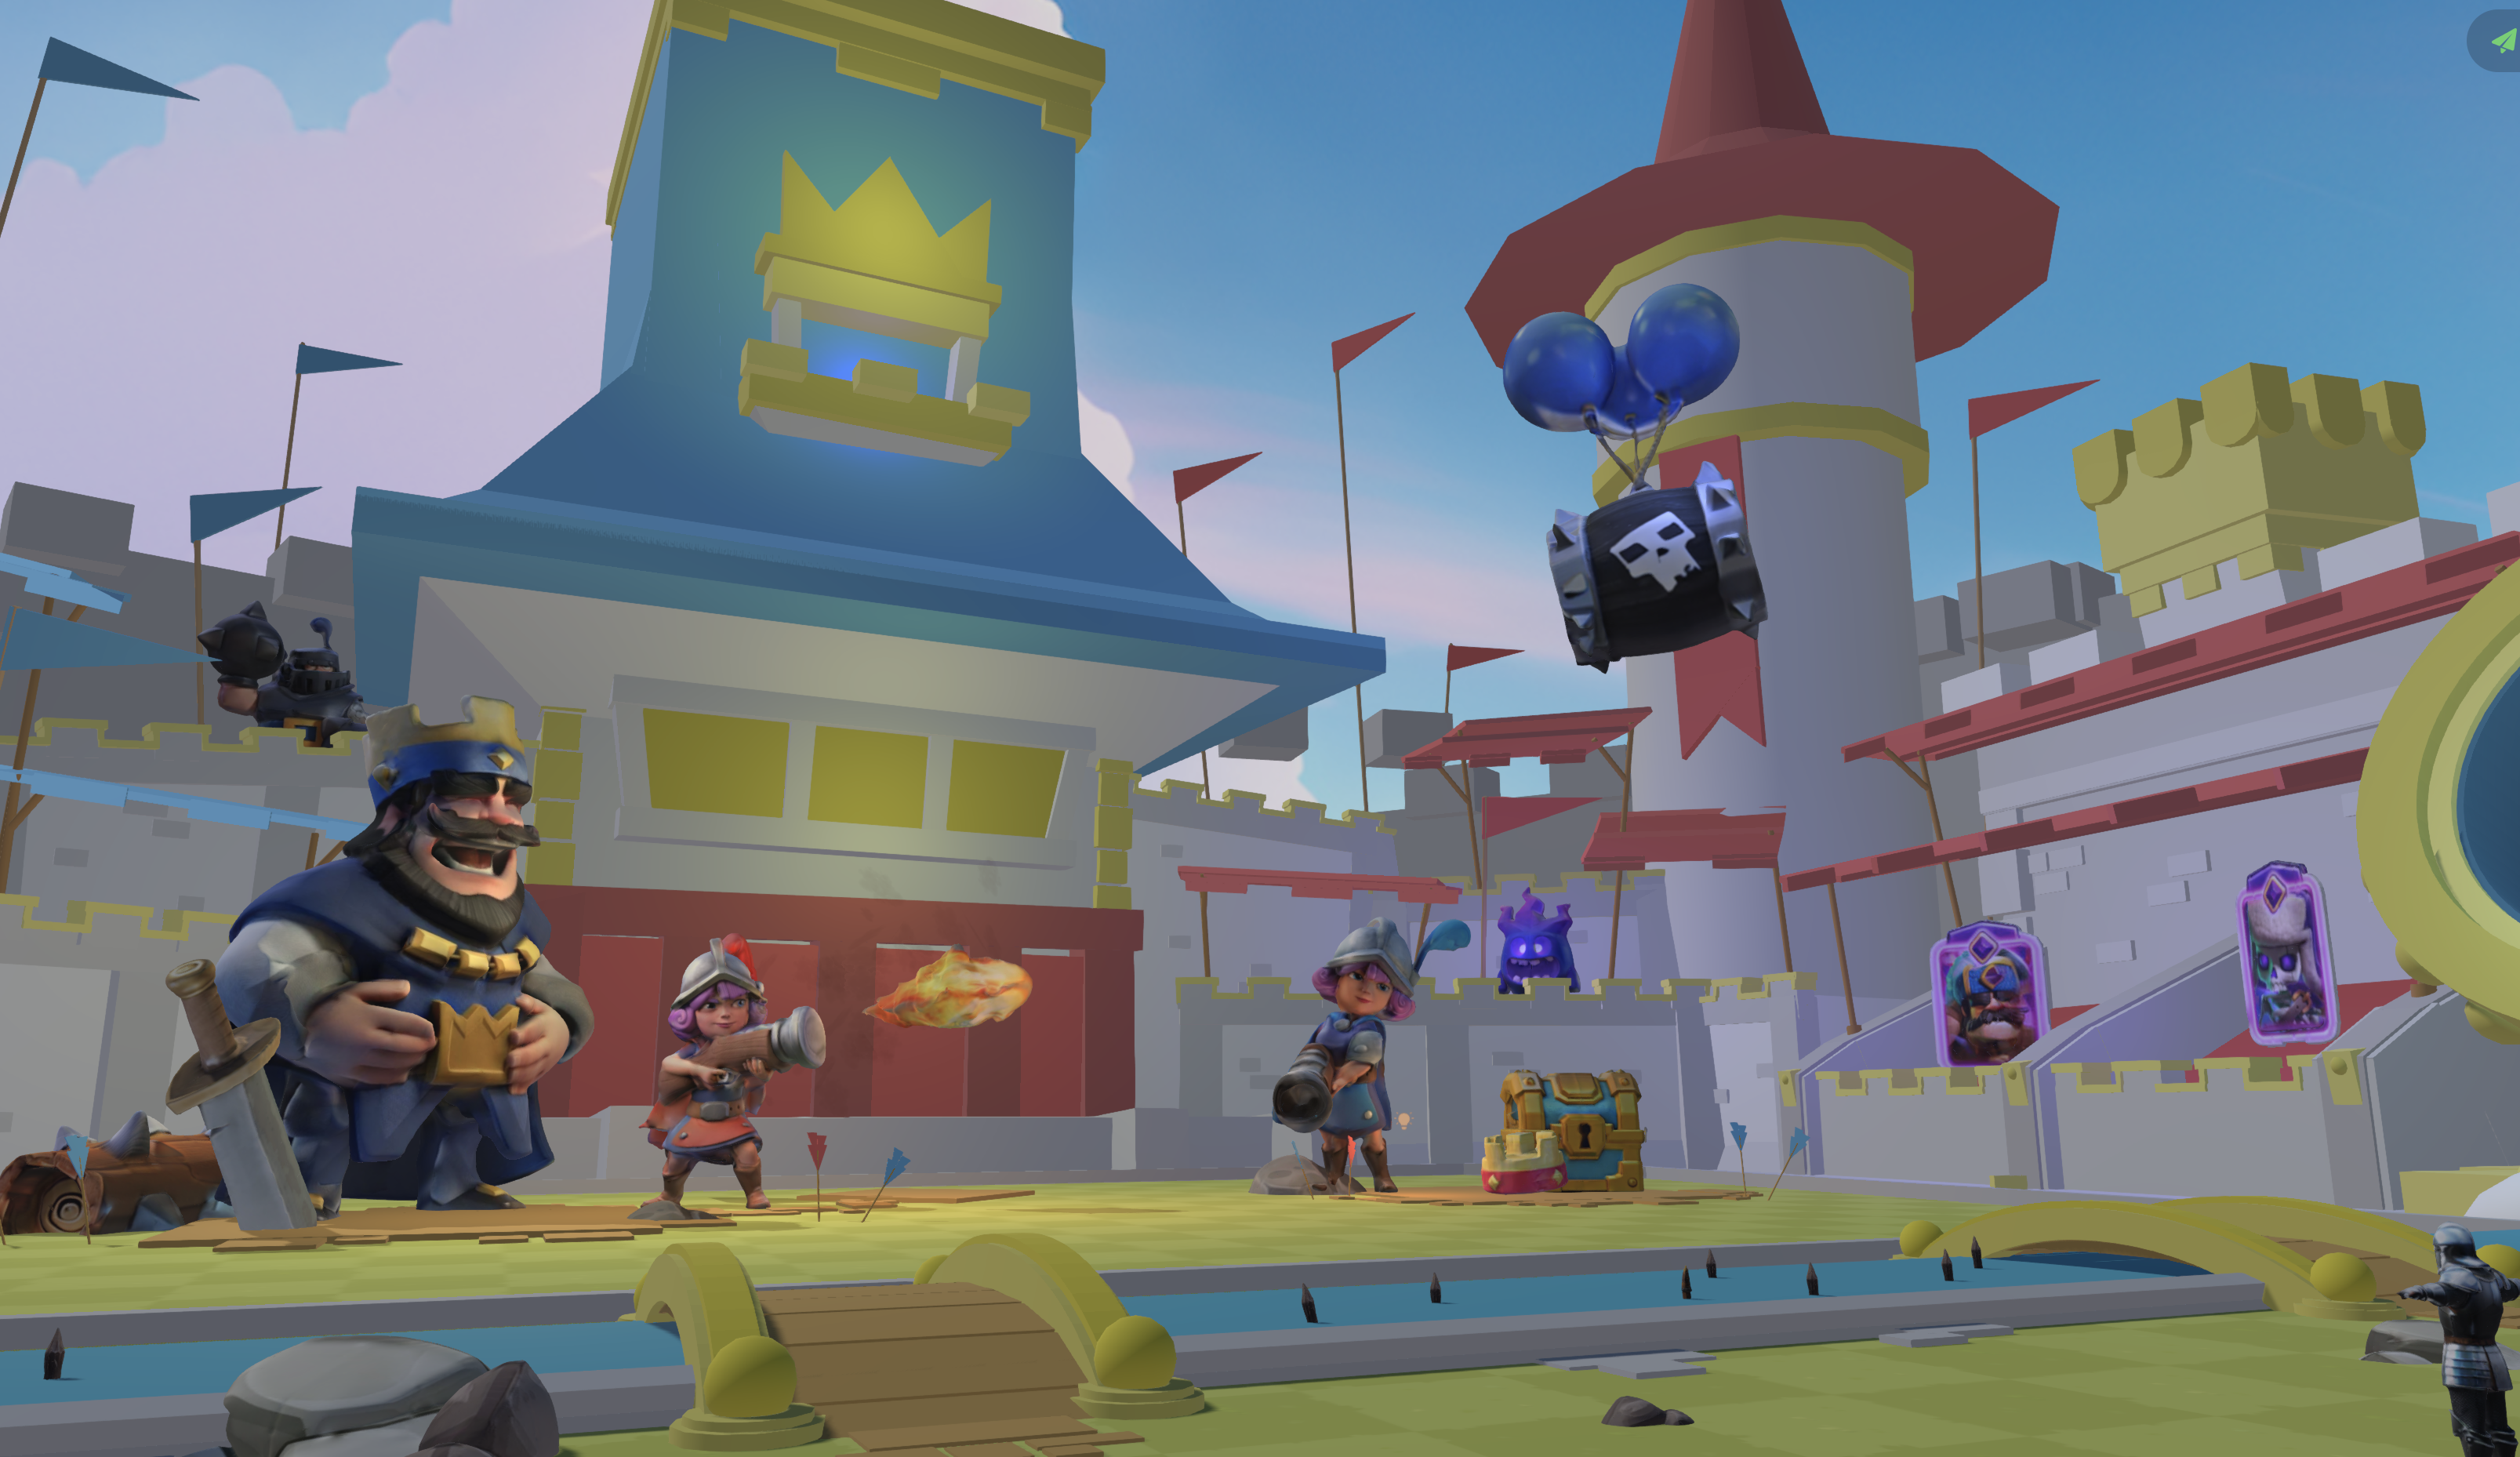
One practical tip helps a lot here. Model creatures with clear, extended limb poses, with legs not tucked and wings spread, so the AI can find joint locations accurately. If your generated model arrives in a twisted or crouched pose, regenerate with a prompt that asks for a neutral standing position.
Step 3: Create or Retarget Animation in the Same Tab
With your model rigged, open the Optimize, Rig & Animate panel. Type a text prompt that describes the motion you want, such as “walk cycle,” “idle breathing,” or “sword slash,” and Nilo generates the animation through its Uthana text-to-motion integration.

Most animations generate in under two minutes. At this step, you choose how you want to build your motion library.
- New animation: Type a motion description and let the AI create a clip that fits your character’s proportions.
- Retargeting: Use your existing Mixamo animation library on Nilo’s Mixamo-compatible rigs without re-rigging your character.
- Preview: Play the animation inside your Nilo world, check for mesh tearing at joints, and confirm the motion feels right at game scale.
Traditional character pipelines can stretch across days or weeks because you juggle rigging, animation, lighting, and rendering in separate tools. Nilo pulls those steps into a single tab so you move from idea to playable motion in minutes.
Step 4: Control Polycount and Export with LOD Tools
Roblox enforces strict polygon limits, and its 3D importer caps individual meshes at about 21,000 triangles. This limit means you cannot drop heavy AI models into Roblox Studio without trimming them first.
AI-generated models often arrive above that cap. In a multi-tool workflow, you open Blender, apply a Decimate modifier, re-export, and re-check. Meshy does not create LODs for you, so you must build Level of Detail variants in a DCC tool or game engine.
Nilo’s LOD slider handles this inside the same panel. LOD, or level of detail, is a system that reduces polygon count as needed. Drag the slider until the polycount readout shows a value that works for a humanoid hero, and watch the mesh simplify in real time. You avoid Blender entirely. Builders in Nilo’s February 2026 survey highlighted this time savings: “I do not have to spend hours on 3D modeling the simplest things. Now I can use Nilo and do it in 15 seconds.”
Export Settings for Roblox and Unity
Use these settings when you export from Nilo for Roblox.
- Format: FBX, which carries skeleton, skin weights, and animation clips in one file.
- Triangle target: Around 21,000 triangles or fewer for each mesh.
- Texture resolution: 1024×1024 pixels, which matches Roblox’s standard texture cap.
- LOD slider: Reduce until the polycount readout falls inside your target range, then click Export.
For Unity, FBX or GLB with Y-Up orientation and all transforms baked to identity works well. Nilo exports to FBX, OBJ, STL, and glTF, so you can bring your characters into Roblox Studio, Unity, Unreal Engine, Blender, or VRChat.
After you click Export, Nilo downloads a Roblox-ready file. Import it into Roblox Studio and your character is ready to drop into a scene.
Quick Validation Checklist Before You Export
Run through this checklist inside Nilo before you hit Export.
- T-pose check: Confirm the character stands in a neutral T-pose or A-pose with arms extended and limbs separated. A hunched creature or folded limbs can confuse AI joint placement and cause bad deformation.
- Polycount readout: Verify the triangle count sits within Roblox’s recommended limits using the LOD slider.
- Animation preview: Play the animation clip in your Nilo world, watch elbows, knees, and shoulders for mesh tearing, and test extreme poses like crouches to catch weight-painting issues.
- Texture resolution: Confirm textures follow the resolution cap mentioned earlier before you export.
If anything looks off, tweak the LOD slider or regenerate the animation prompt. You stay in the same browser tab the whole time.
Conclusion: Keep Your Roblox Rigging Flow in One Tab
The old workflow with Meshy, then Blender, then Mixamo, then Roblox Studio burns time and breaks your momentum at every handoff. Nilo keeps generation, one-click rigging, animation, LOD control, and Roblox-ready export inside a single browser tab, with no installs and no Blender cleanup.
In Nilo’s February 2026 survey, 82% of builders rated their experience as “Awesome” or “Good,” and 93% said they would recommend Nilo to a friend. Those same builders often mention the LOD and export flow as a key reason they ship characters faster, and you can follow the same path without spending a bunch of money.
Start rigging your Roblox characters in one tab — join the free beta now.
Frequently Asked Questions
What does “rigging” mean and why does it matter for Roblox?
Rigging means adding a digital skeleton to a 3D character so it can move. Without a rig, your character stays a static mesh that can sit in a scene but cannot walk, jump, or animate. Roblox needs rigged characters for any animated avatar or NPC. Traditionally, rigging meant manually placing bones and painting skin weights in Blender, which is the hours-long process described earlier. Nilo’s one-click rigging automates skeleton placement and weight computation so your character becomes animation-ready in seconds, without opening Blender.
Does Nilo support creature and non-humanoid rigging, or only human characters?
Nilo supports both humanoid and non-humanoid characters. The AI checks whether your model is a biped, quadruped, or custom creature and then applies a matching skeleton structure automatically. For the best results with creatures, generate or import your model in a neutral standing pose with limbs extended and separated, because tucked legs or folded wings can make joint detection less accurate. You do not need to place markers or pick a skeleton type by hand.
How do I keep my model under Roblox’s polycount limit without using Blender?
Roblox enforces the 21,000-triangle limit mentioned earlier for individual meshes. Nilo’s LOD slider lets you reduce polygon count in real time directly inside the platform. Drag the slider until the polycount readout falls inside your target range, then export. The mesh simplifies automatically, so you skip Decimate modifiers and manual retopology.
What export format should I use for Roblox versus Unity?
For Roblox, export as FBX. FBX carries the skeleton, skin weights, and animation clips in a single file, which cuts down manual setup after import into Roblox Studio. Match your texture resolution to the 1024×1024 standard mentioned earlier. For Unity, FBX or GLB both work well, and GLB bundles geometry and textures into one compact file that fits web-based or Unity URP pipelines. Nilo exports to FBX, OBJ, STL, and glTF, so you can pick the format that fits your target platform.
Is Nilo free to use for rigging and animation?
Nilo is in open beta and free to start. You receive 1,000 Nilo Bits per month on the free Starter tier. Bits power AI generation, rigging, and animation features, while many core building tools stay free. If you need more generation capacity, paid tiers add extra Bits and access to newer high-quality AI models. You can also earn extra Bits through Nilo Rewards by inviting friends and building with the community.