Written by: Nuno Leiria, Founder & CEO @ Nilo
Key Takeaways for Importing Custom Meshes into Roblox Studio
-
Custom Roblox mesh import works best when you start with a clean asset, keep triangle counts within Roblox limits, export in a supported format, and bring it in through Roblox Studio’s Universal Importer. The traditional way usually means bouncing through Blender for hours.
-
Nilo stands out because it removes the Blender step. You generate, clean up geometry, adjust detail, and rig in your browser while staying inside Roblox’s 10k–20k triangle caps.
-
Use FBX for rigged or animated models and OBJ for static props. Nilo exports with Roblox-friendly scale, transforms, and texture settings already applied.
-
After you import, check triangle count, pivot placement, and textures in Studio. Then use Performance Stats and RenderFidelity to keep your game running smoothly on phones, tablets, and low-end PCs.
-
You can skip the Meshy-to-Blender-to-Studio chain and move faster with Nilo. Try Nilo in your browser and speed up your Roblox asset pipeline.
What You Need Before You Start Importing
You only need three things: a browser with WebGPU support like Chrome or Edge, a free Nilo account, and Roblox Studio on your desktop. That’s it. No Blender license, no GPU workstation, no plugin stack.
Nilo is a browser-based AI creation platform built for Roblox builders like you. It handles generation, retopology (cleaning up a mesh so it deforms and renders correctly), rigging (adding a skeleton so you can animate), and FBX export in one place. In a February 2026 Nilo survey, 82% of builders rated their experience “Awesome” or “Good,” and 93% said they would recommend Nilo to a friend. You can follow this guide even if you have never opened a 3D tool before.
Step 1: Generate a Roblox-Ready Mesh in Your Browser
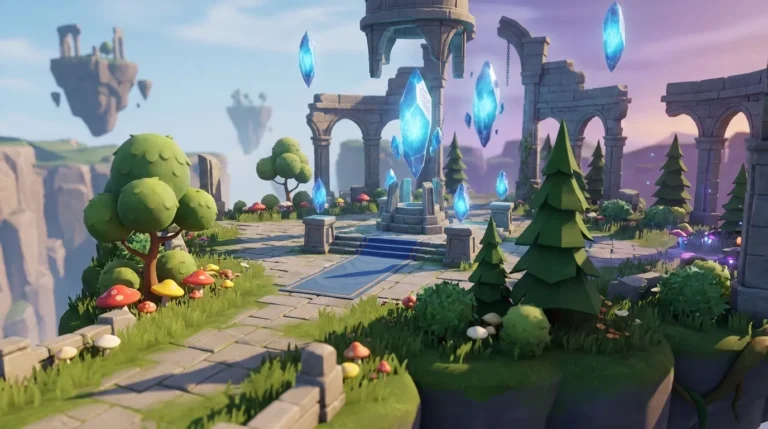
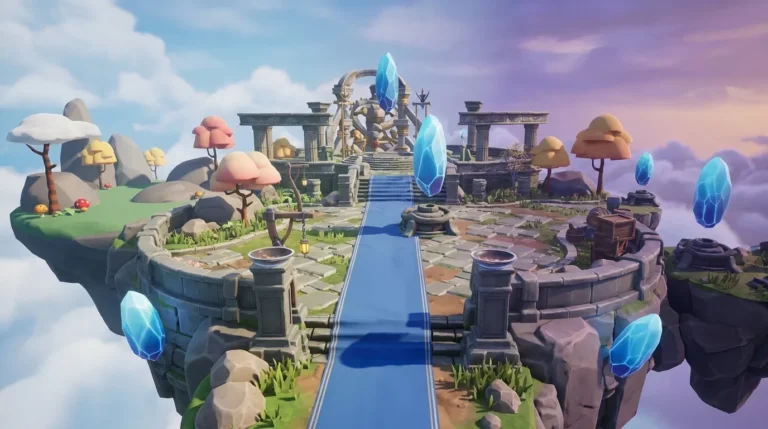
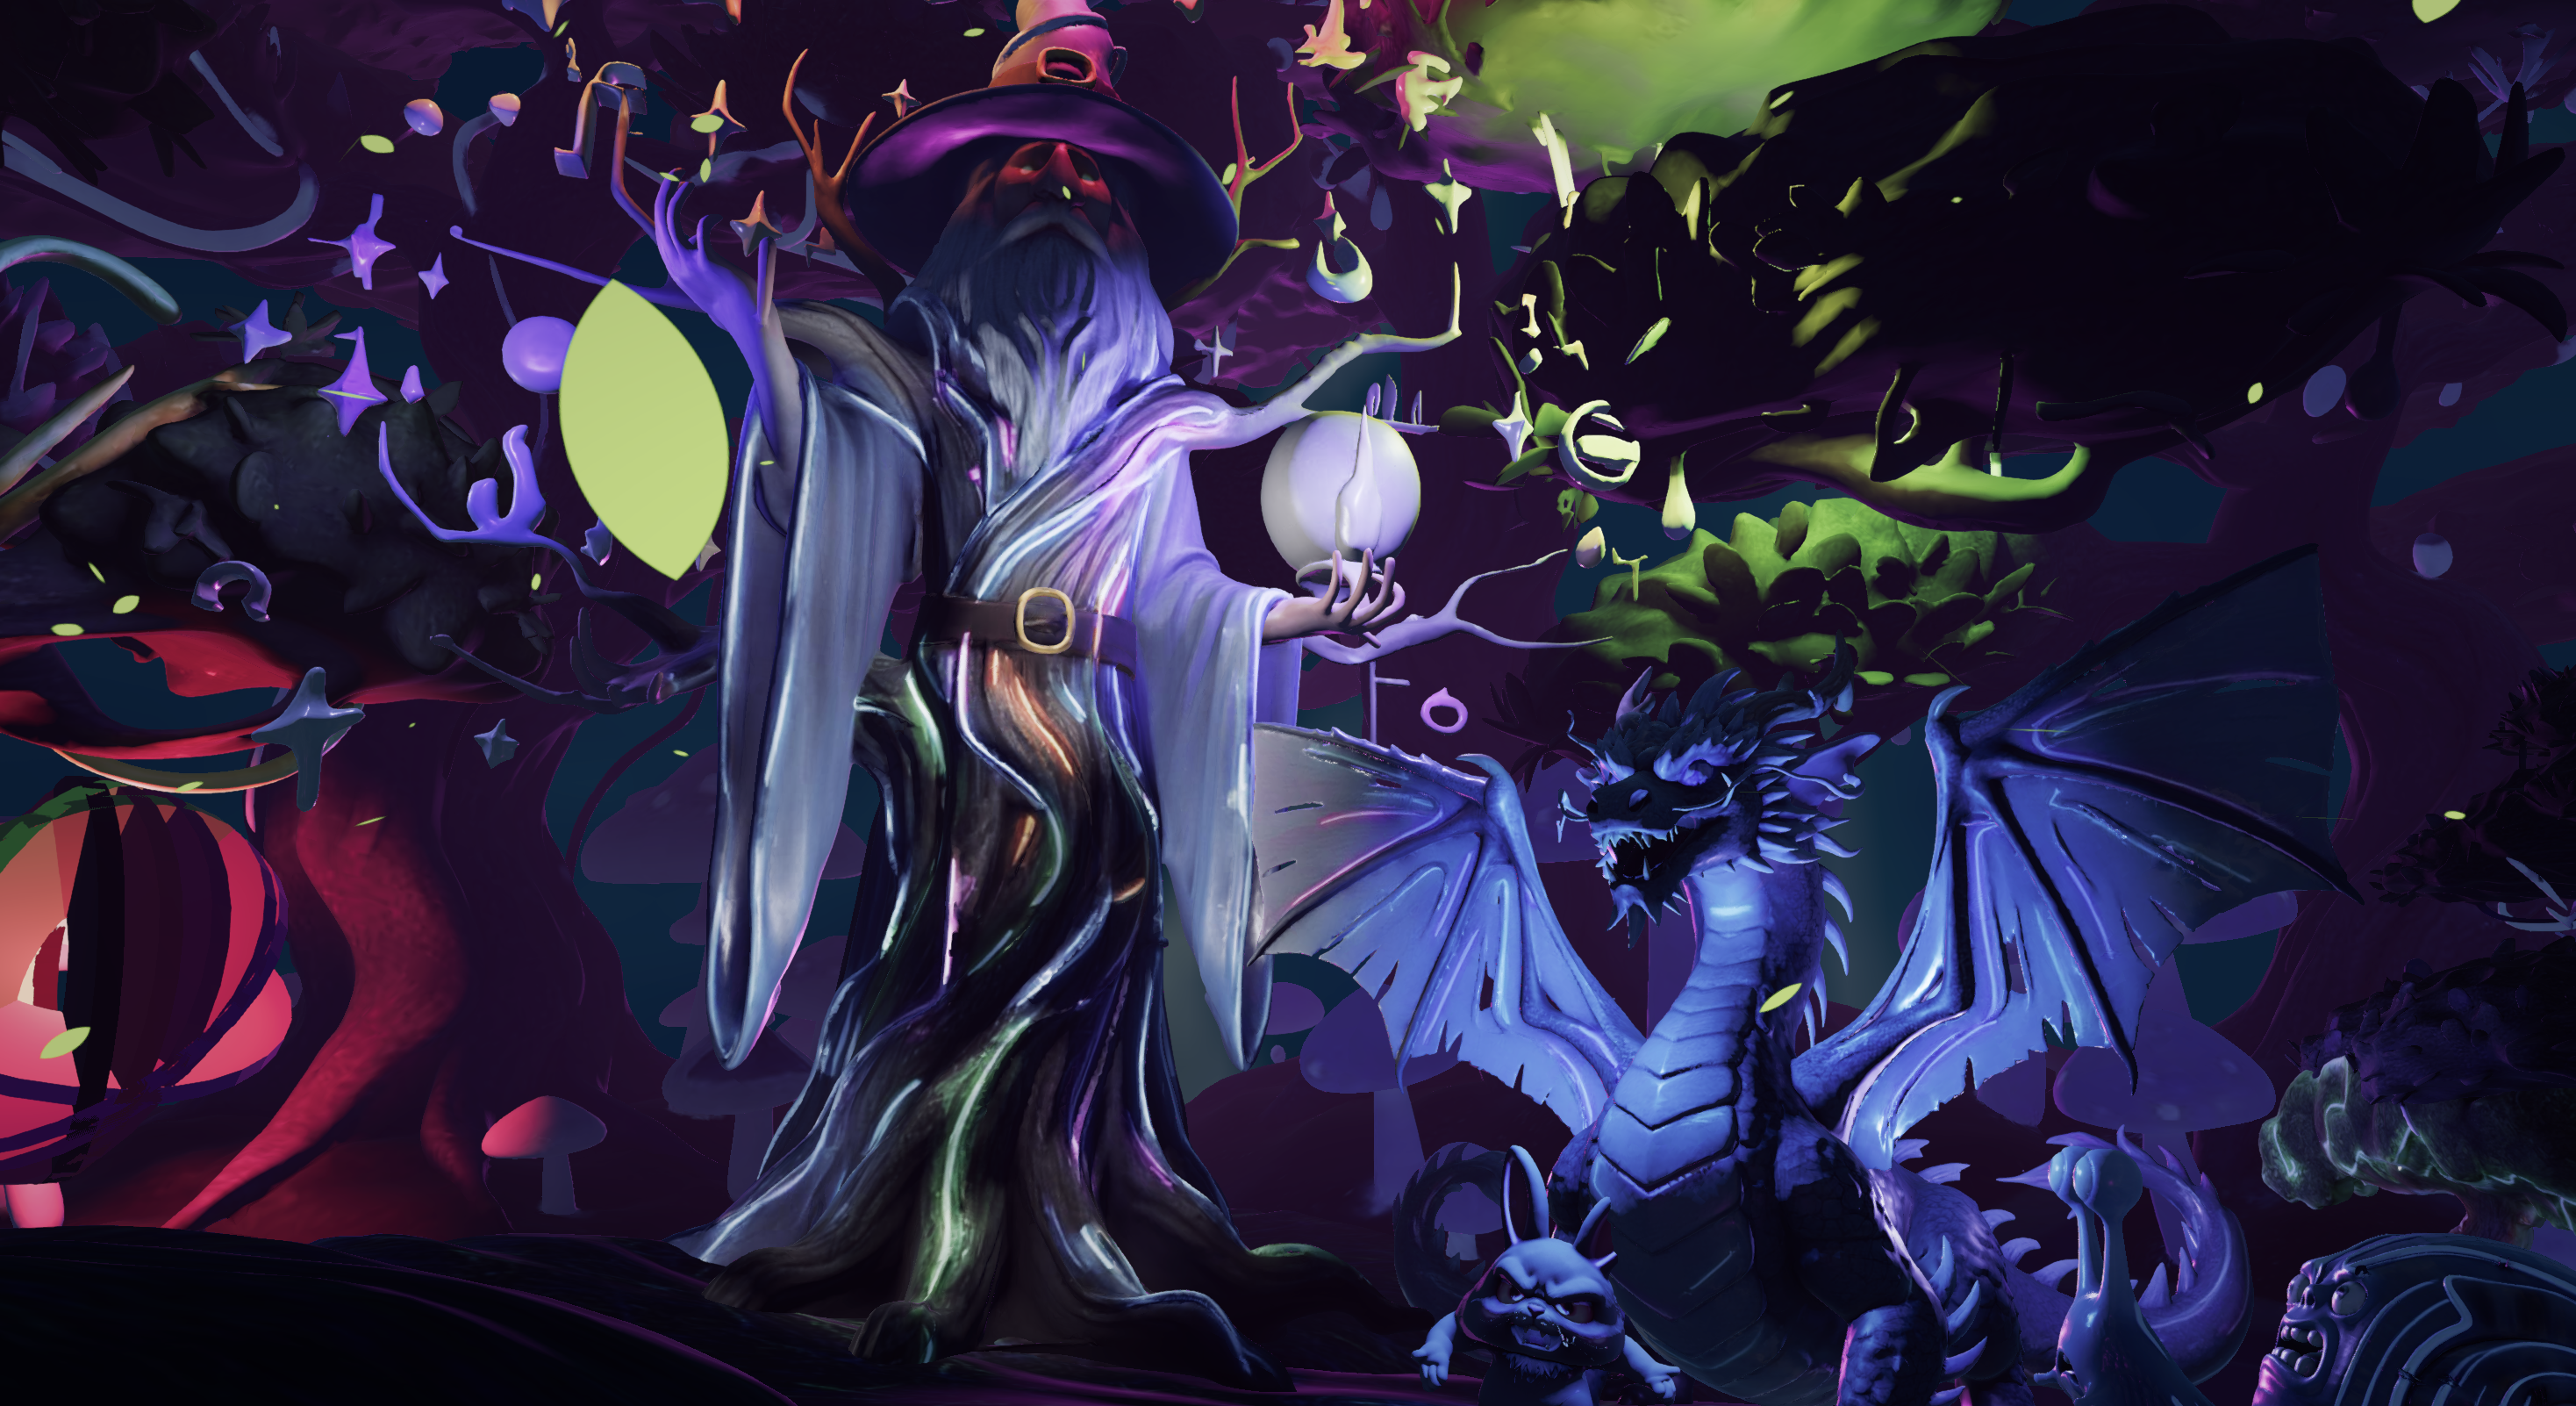
Open Nilo in your browser and use the Craft Your Model feature. Type a text prompt, upload a sketch, drop in a reference image, or mix all three in one idea. Nilo’s model-agnostic AI layer, which sits on top of tools like Meshy, Tripo, and Nano Banana, gives you a 3D mesh in seconds.
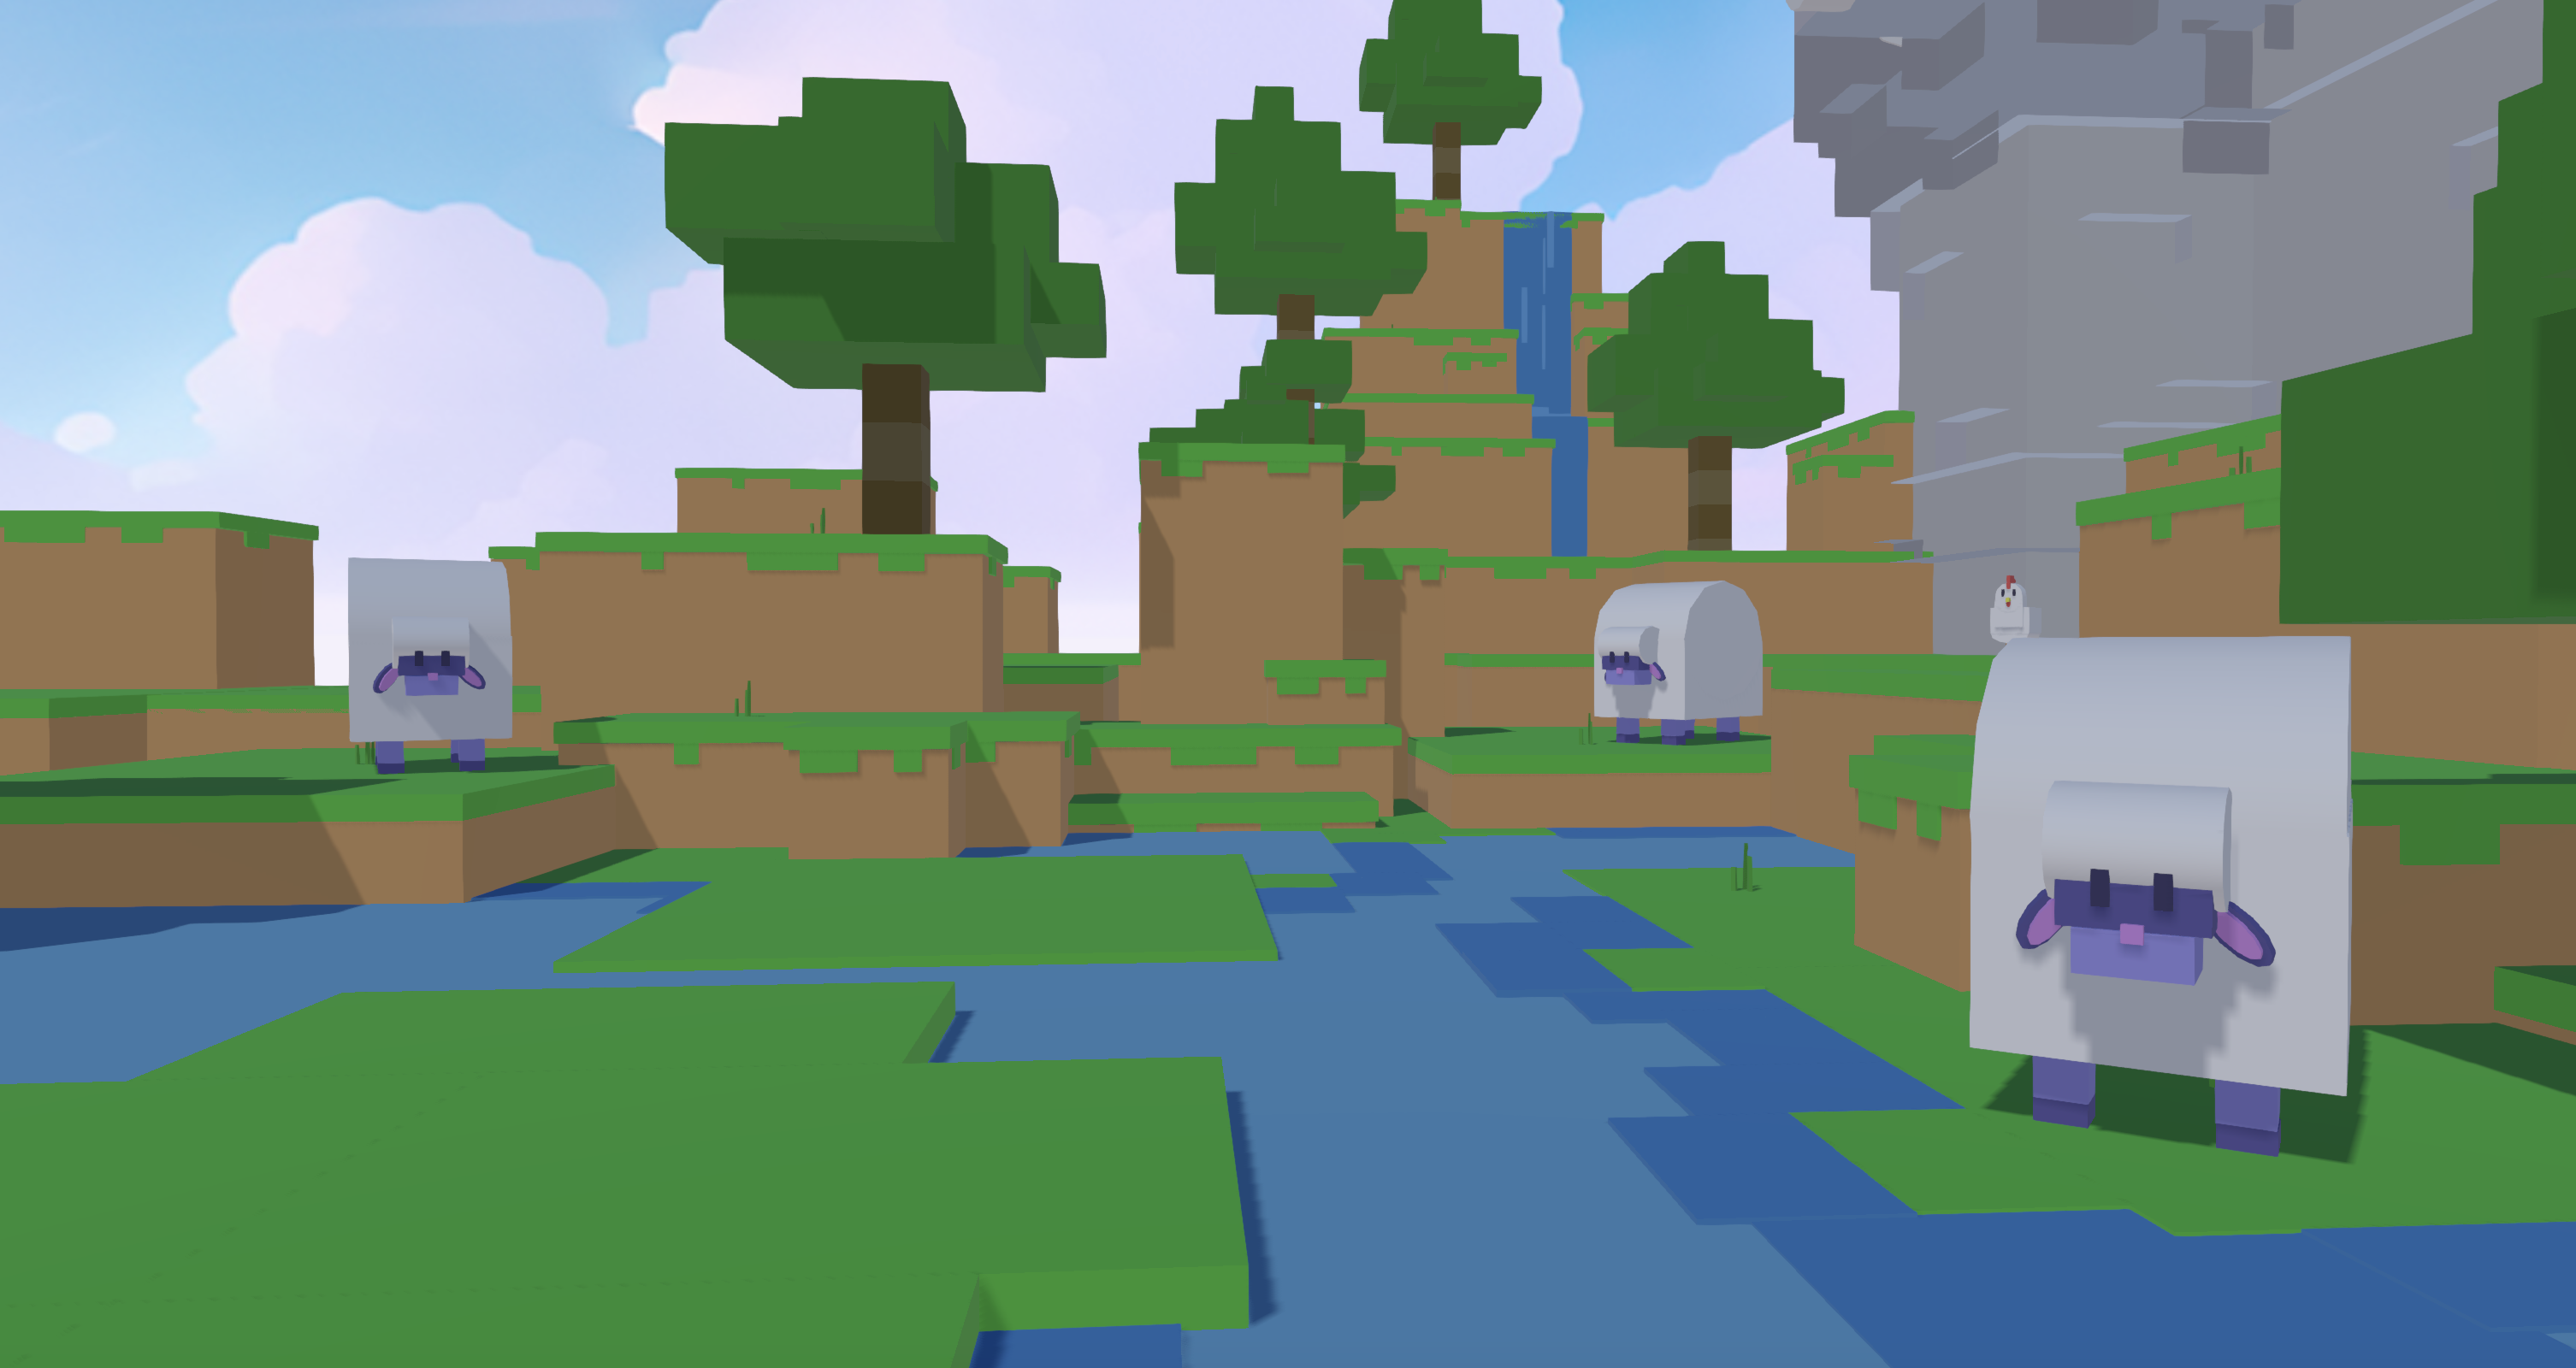
The big difference from using Meshy or Tripo directly is that Nilo keeps polycount in a Roblox-friendly range from the start. Roblox’s 3D Importer caps individual meshes at 10,000 triangles for batch import and 20,000 triangles for single import, and humanoid characters need reasonable triangle counts without accessories. Nilo generates with those limits in mind, so you are not stuck with a 200,000-triangle blob that needs heavy cleanup before Studio accepts it.
As one builder from the survey put it: “I do not have to spend hours on 3D modeling the simplest things. Now I can use Nilo and do it in 15 seconds.”
Start generating Roblox-ready meshes in your browser, no Blender required.
Step 2: Clean Up Geometry and Add Rigging in Real Time
After your mesh appears, move the LOD (level of detail) slider in Nilo to control polygon count. LOD reduces model complexity when you need better performance, which matters a lot for Roblox’s mobile players. For props and characters, aim for triangle counts that keep your game smooth instead of chasing tiny visual gains.
The slider lets you see detail changes as you drag, so you do not have to write scripts or run decimate modifiers in Blender. You stay focused on how the model looks in 3D, not on tool settings.
If your asset needs a skeleton, click Rig. You might do this for a character, a weapon with animations, or an accessory that needs to move. One-click rigging in Nilo attaches a bone structure automatically and prepares the rig for Roblox, so you avoid manual weight painting or bone setup.
You can also create an animation from a text prompt. Describe the motion you want, and Nilo generates the animation for your rig. You handle generation, cleanup, rigging, and animation in one browser tab within a few minutes.
Step 3: Pick the Right Export Format for Roblox
Nilo exports to FBX, OBJ, STL, and glTF. For Roblox, the format depends on how you plan to use the asset. Use OBJ for static models and FBX for rigged or animated models; GLB works well when you want textures bundled in one file.
FBX is usually the best choice for Roblox imports because it keeps rigging data, bone hierarchies, and texture references together. When you compare export tools like Nilo or Sloyd, check a few things: whether you can control polygon count before export, whether rigging survives export, whether textures match Roblox’s formats and sizes, and whether you can preview the mesh before downloading.
Nilo supports all of these checks. When exporting for Roblox, set scale to 1.0 and enable Apply Transforms. Nilo applies these settings for you on export, so you do not have to remember them each time.
Step 4: Bring Your Mesh into Roblox Studio with the Universal Importer
With your FBX ready, open Roblox Studio and use the Universal Importer. This importer, released in the January 30, 2026 beta, lets you bring in 3D meshes, images, audio, and video from one place. You can open it from the Ribbon Import button, from File > Import, or with Ctrl+M on Windows and Cmd+M on Mac.
Use this checklist when the importer opens so your mesh behaves correctly in-game:
-
Scale: Confirm scale is set to 1.0. Roblox uses 1 unit per stud, which is about 0.28 meters, and wrong scale creates tiny or giant models. Getting this right now saves you from re-importing later.
-
Pivot: Check that the pivot point sits at the model’s base or center of mass. The pivot controls how the model rotates and snaps to surfaces, so a wrong pivot makes accessories float, clip, or attach in strange ways.
-
Collision: Set CollisionFidelity to Box or Hull for most props to keep physics light. Simple collision shapes reduce CPU work without changing how the model looks. Use Precise only for special cases where exact collision really matters, like a puzzle piece that must fit a slot.
-
Texture import toggle: Turn on texture import. Roblox accepts PNG, JPG, TGA, or BMP up to 4096×4096 pixels, and Nilo exports inside these limits by default.
-
Creator destination: Choose whether the asset goes into your personal inventory or a group inventory before you confirm the upload.
Click Import. Roblox processes the file and drops the MeshPart into your workspace. Check the viewport to confirm orientation, and make sure characters face positive Z and stand upright along positive Y. If everything looks right, you can move on to performance checks. If you see errors or visual problems, use the troubleshooting section below.
Try Nilo’s one-click export workflow and skip the Meshy-to-Blender detour.
Troubleshooting Common Import Errors in Roblox Studio
Even with a clean export, import issues still show up sometimes. The table below groups problems by likely cause, so you can match what you see in Studio to a root issue and apply the right fix or Nilo setting.
|
Problem |
Likely Cause |
Fix |
Prevention in Nilo |
|---|---|---|---|
|
Gray model after import |
Restart Roblox Studio and reopen the place, then check Output for “Failed to grant Game permission” errors |
Nilo exports textures inside Roblox’s format specs, which lowers the chance of permission conflicts |
|
|
Missing rig or broken animation |
Rigging data compatibility issues |
Re-export as FBX with rigging data and confirm bone count in your source tool |
Nilo’s one-click rigging prepares the model for Roblox automatically |
|
Texture stretching |
UV map outside 0–1 coordinate space or multiple UV sets |
Consolidate UVs to a single set within 0–1 space, then re-export |
Nilo bakes textures to a single atlas on export |
|
Model too small or too large |
Scale not set to 1.0 on export |
Re-export with Apply Transforms enabled and scale at 1.0 |
Nilo applies correct scale automatically |
If a gray model stays gray after you restart Studio, add a SurfaceAppearance object to the MeshPart and set the TextureID in the Properties panel. Roblox staff have not confirmed a single cause for gray model texture loading issues in Studio and have requested more logs and repro files, so you may need this manual workaround.
Use Nilo’s Roblox-friendly export settings to avoid many of these errors from the start.
Measuring Your Import Success and Improving Performance
After import, confirm that your mesh works correctly inside Roblox Studio. Select the MeshPart and check the Properties panel to make sure triangle count stays within Roblox limits and textures appear as expected.
Once you know the import worked, focus on how the mesh affects gameplay performance. Use Studio’s Performance Stats panel, under View > Stats > Render, to watch draw calls and frame rate. Reusing the same mesh ID many times reduces draw calls because Roblox batches identical mesh IDs. If you place the same prop 50 times, import it once and duplicate the MeshPart in Studio instead of importing 50 separate files.
Set RenderFidelity on your MeshPart to Automatic or Performance for props that players mostly see from a distance. RenderFidelity controls how much detail Roblox shows for MeshParts and solid models. Automatic mode lowers detail when the camera moves away, which helps you trade a bit of visual sharpness for smoother frame rates where players will not notice.
From here, you can focus on building more assets faster. Nilo’s browser workflow, where you generate, adjust detail with the LOD slider, rig with one click, and export FBX, removes the Meshy → Blender → Studio chain that can cost you 30 minutes or more per asset. Another survey respondent noted: “I like how it feels like a good game engine rather than a vibe coding tool, with easy building and a good focus on being able to export and import content.”
Frequently Asked Questions About Roblox Mesh Imports
What triangle count should my Roblox mesh use before importing?
Roblox’s 3D Importer has specific triangle limits per mesh, so you should keep your assets within those caps. For humanoid characters and props, aim for triangle counts that keep your game responsive on mobile. Nilo’s LOD slider lets you see triangle changes as you adjust, so you do not need Blender scripts to hit your targets. If your asset goes over the limits, the importer may reject it or create a broken mesh, so dialing things back before export is the safest move.
Do I need Blender to import a custom mesh into Roblox Studio?
You do not need Blender for this workflow. Blender is powerful, but many builders only open it to fix topology, reduce polygons, or freeze transforms after using a generator like Meshy. Nilo handles those steps in your browser with real-time retopology, LOD control, and correct export settings built in. You generate your asset in Nilo, export as FBX, and import straight into Roblox Studio with the Universal Importer.
Why does my imported mesh appear gray in Roblox Studio?
A gray mesh usually means textures did not load. This can happen when the texture format is not supported, when UVs use multiple sets or coordinates outside the 0–1 space, or when Studio hits a permissions bug. Roblox accepts PNG, JPG, TGA, or BMP up to 4096×4096 pixels.
The fastest fix is to restart Roblox Studio and reopen your place, which clears many texture issues. If the mesh stays gray, add a SurfaceAppearance to the MeshPart and set the TextureID in the Properties panel. Nilo exports textures that already match Roblox’s requirements, which lowers the chance of gray imports.
What file format should I use when exporting for Roblox?
Use FBX for any mesh that has a rig or animation, because FBX keeps bone hierarchies, vertex weights, and texture references together. Use OBJ for static props with no animation. Use GLB when you want textures bundled into one file instead of a separate image folder. Roblox Studio’s Universal Importer accepts all three formats. When you export from Nilo, choose FBX for characters and animated props, and Nilo applies the correct scale and transform settings for Roblox automatically.
Can I use Nilo just for asset creation and still build my game in Roblox Studio?
You can absolutely use Nilo only for asset creation and keep building your game in Roblox Studio. Treat Nilo as your asset pipeline: generate a mesh, clean it up, rig it, export FBX, then bring that asset into Studio and script or assemble your game as usual. Nilo also lets you playtest assets inside a Nilo World before export, so you can check proportions and animations in a live 3D scene before you commit to importing into Roblox.