Written by: Nuno Leiria, Founder & CEO @ Nilo | Last updated: August 10, 2026
Why This Roblox Asset Workflow Matters for You
- Traditional asset pipelines force you to bounce between tools like Meshy, Blender, and Roblox Studio, which kills your momentum.
- Nilo pulls the whole process into one browser tab, so you can prompt, generate, refine, rig, playtest, and export without touching Blender or Lua.
- You can create Roblox-ready assets in seconds using natural language prompts or sketches, with automatic LOD controls that respect Roblox triangle limits.
- One-click rigging, real-time multiplayer playtesting, and direct FBX or glTF export remove a lot of manual cleanup and speed up your build time.
- Ready to streamline your Roblox asset pipeline? Try Nilo today.
Why Traditional Asset Pipelines Slow You Down
Building a Roblox asset the conventional way usually means juggling at least four separate tools. You generate a mesh in a tool like Meshy, then open Blender to fix topology, reduce polycount, unwrap UVs, and export an FBX file into Roblox Studio. You often discover the mesh is over the limit and end up starting again.
Roblox enforces a hard cap of 10,000 triangles on MeshParts and 4,000 triangles on UGC accessories, with diffuse textures for UGC capped at 1024×1024 pixels. For smooth performance, especially on mobile, you should aim even lower for most props and characters. Hitting those numbers by hand takes time. In a February 2026 Nilo survey, builders described spending five hours modeling a single shipping container in Blender before discovering Nilo could generate a similar asset in 20 seconds.
The tool-switching itself creates a big part of the problem. Every time you leave one app and open another, you lose context, momentum, and time. Nilo’s single-tab workflow is designed to remove that friction completely, and the next sections walk you through how that looks step by step.

Step 1: Describe Your Idea with Vibe Coding
Vibe coding means you describe what you want to build in plain language and let AI turn that into a 3D starting point. You can type, talk, or upload a sketch or reference image and skip scripting, Lua, and complex menus.
In Nilo, you open a browser tab and type something like “low-poly fantasy sword with a glowing blue gem” or “sci-fi crate, weathered metal, orange accents.” You can also draw a rough 2D sketch and let Nilo’s sketch-to-3D pipeline interpret it. More specific prompts usually land closer to what you imagine, and you can still iterate quickly if the first result is not perfect.
Key trade-off: Text-only prompts leave more room for AI to guess details. Natural language prompts can add extra armor pieces or wrong body types. Pairing your text with a reference image in Nilo tightens shape, proportions, and colors, so you regenerate less often.
Step 2: Generate a 3D Mesh in Your Browser
After you write your prompt, Nilo generates a 3D mesh in seconds. Behind the scenes, Nilo’s AI layer routes your request through multiple providers, such as Meshy and Tripo, and surfaces a strong result without asking you to manage each service.

You can generate 3D characters, weapons, and detailed props in seconds by sketching or prompting, all inside your browser with no installation.
Key trade-off: Speed and quality sit on a spectrum. A fast generation pass gives you a solid blockout mesh. A higher-quality pass takes a bit longer but produces cleaner geometry. Fast passes usually work well for background props and set dressing. For a hero character you plan to animate, let the quality pass run.
Start generating your first asset in Nilo’s open beta.
Step 3: Adjust Topology and Polycount with a Slider
This step is where Nilo’s LOD system takes over the work that used to demand long Blender sessions. The LOD slider controls how many triangles your mesh uses and updates the model in real time.
Drag the slider and Nilo simplifies the mesh topology while targeting Roblox’s performance limits. Roblox has no documented hard cap on mesh triangle counts in its official specifications, but community reports suggest importer limits around 10k–20k triangles, and textures support up to 4096×4096 resolution in PNG, JPG, TGA, or BMP formats. Because Nilo’s optimization respects these guidelines, your asset is more likely to pass Roblox’s moderation checks without extra fixes.
Key trade-off: Very aggressive decimation can blur small surface details. Roblox limits rigid and layered accessories, including hair, to a maximum of 4,000 triangles. Use the slider to find a balance between visual quality and performance that fits your asset’s role in the game.
See how Nilo adjusts polycount so models drop into Roblox Studio without extra cleanup.
Step 4: Rig and Animate Characters in One Click
Rigging adds a skeleton to a 3D character so it can move and animate. In professional tools, this process can take hours or days for a single bipedal character, which is why Nilo’s one-click rigging saves so much time.
Nilo’s one-click rigging focuses on bipedal, humanoid characters in a T-pose, which means arms extended outward for clean animation. Clothing rigs as part of the full character model. After rigging, you can type animation prompts such as “walk cycle,” “sword swing,” or “idle breathing,” and Nilo generates motion using its AI animation layer, including Mixamo-compatible retargeting through the Uthana partnership.

Key trade-off: One-click rigging works best on clean humanoid meshes. Creatures with unusual limbs or vehicles may still need extra adjustment. Even in those cases, Nilo gives you a strong starting point compared to building a full rig from scratch in Blender.
Step 5: Playtest Your Asset with Friends
Before you export anything, you can drop your asset into a Nilo world and run around with it. Nilo’s custom game engine uses C++ physics compiled to WebAssembly and accelerated with WebGPU, so physics, collisions, and animations run in real time inside your browser.
You can share a link and invite a friend to join instantly and playtest with you. This multiplayer preview step catches problems like wrong scale, clipping geometry, or animation glitches before you open Roblox Studio, which saves you a full import and fix cycle.
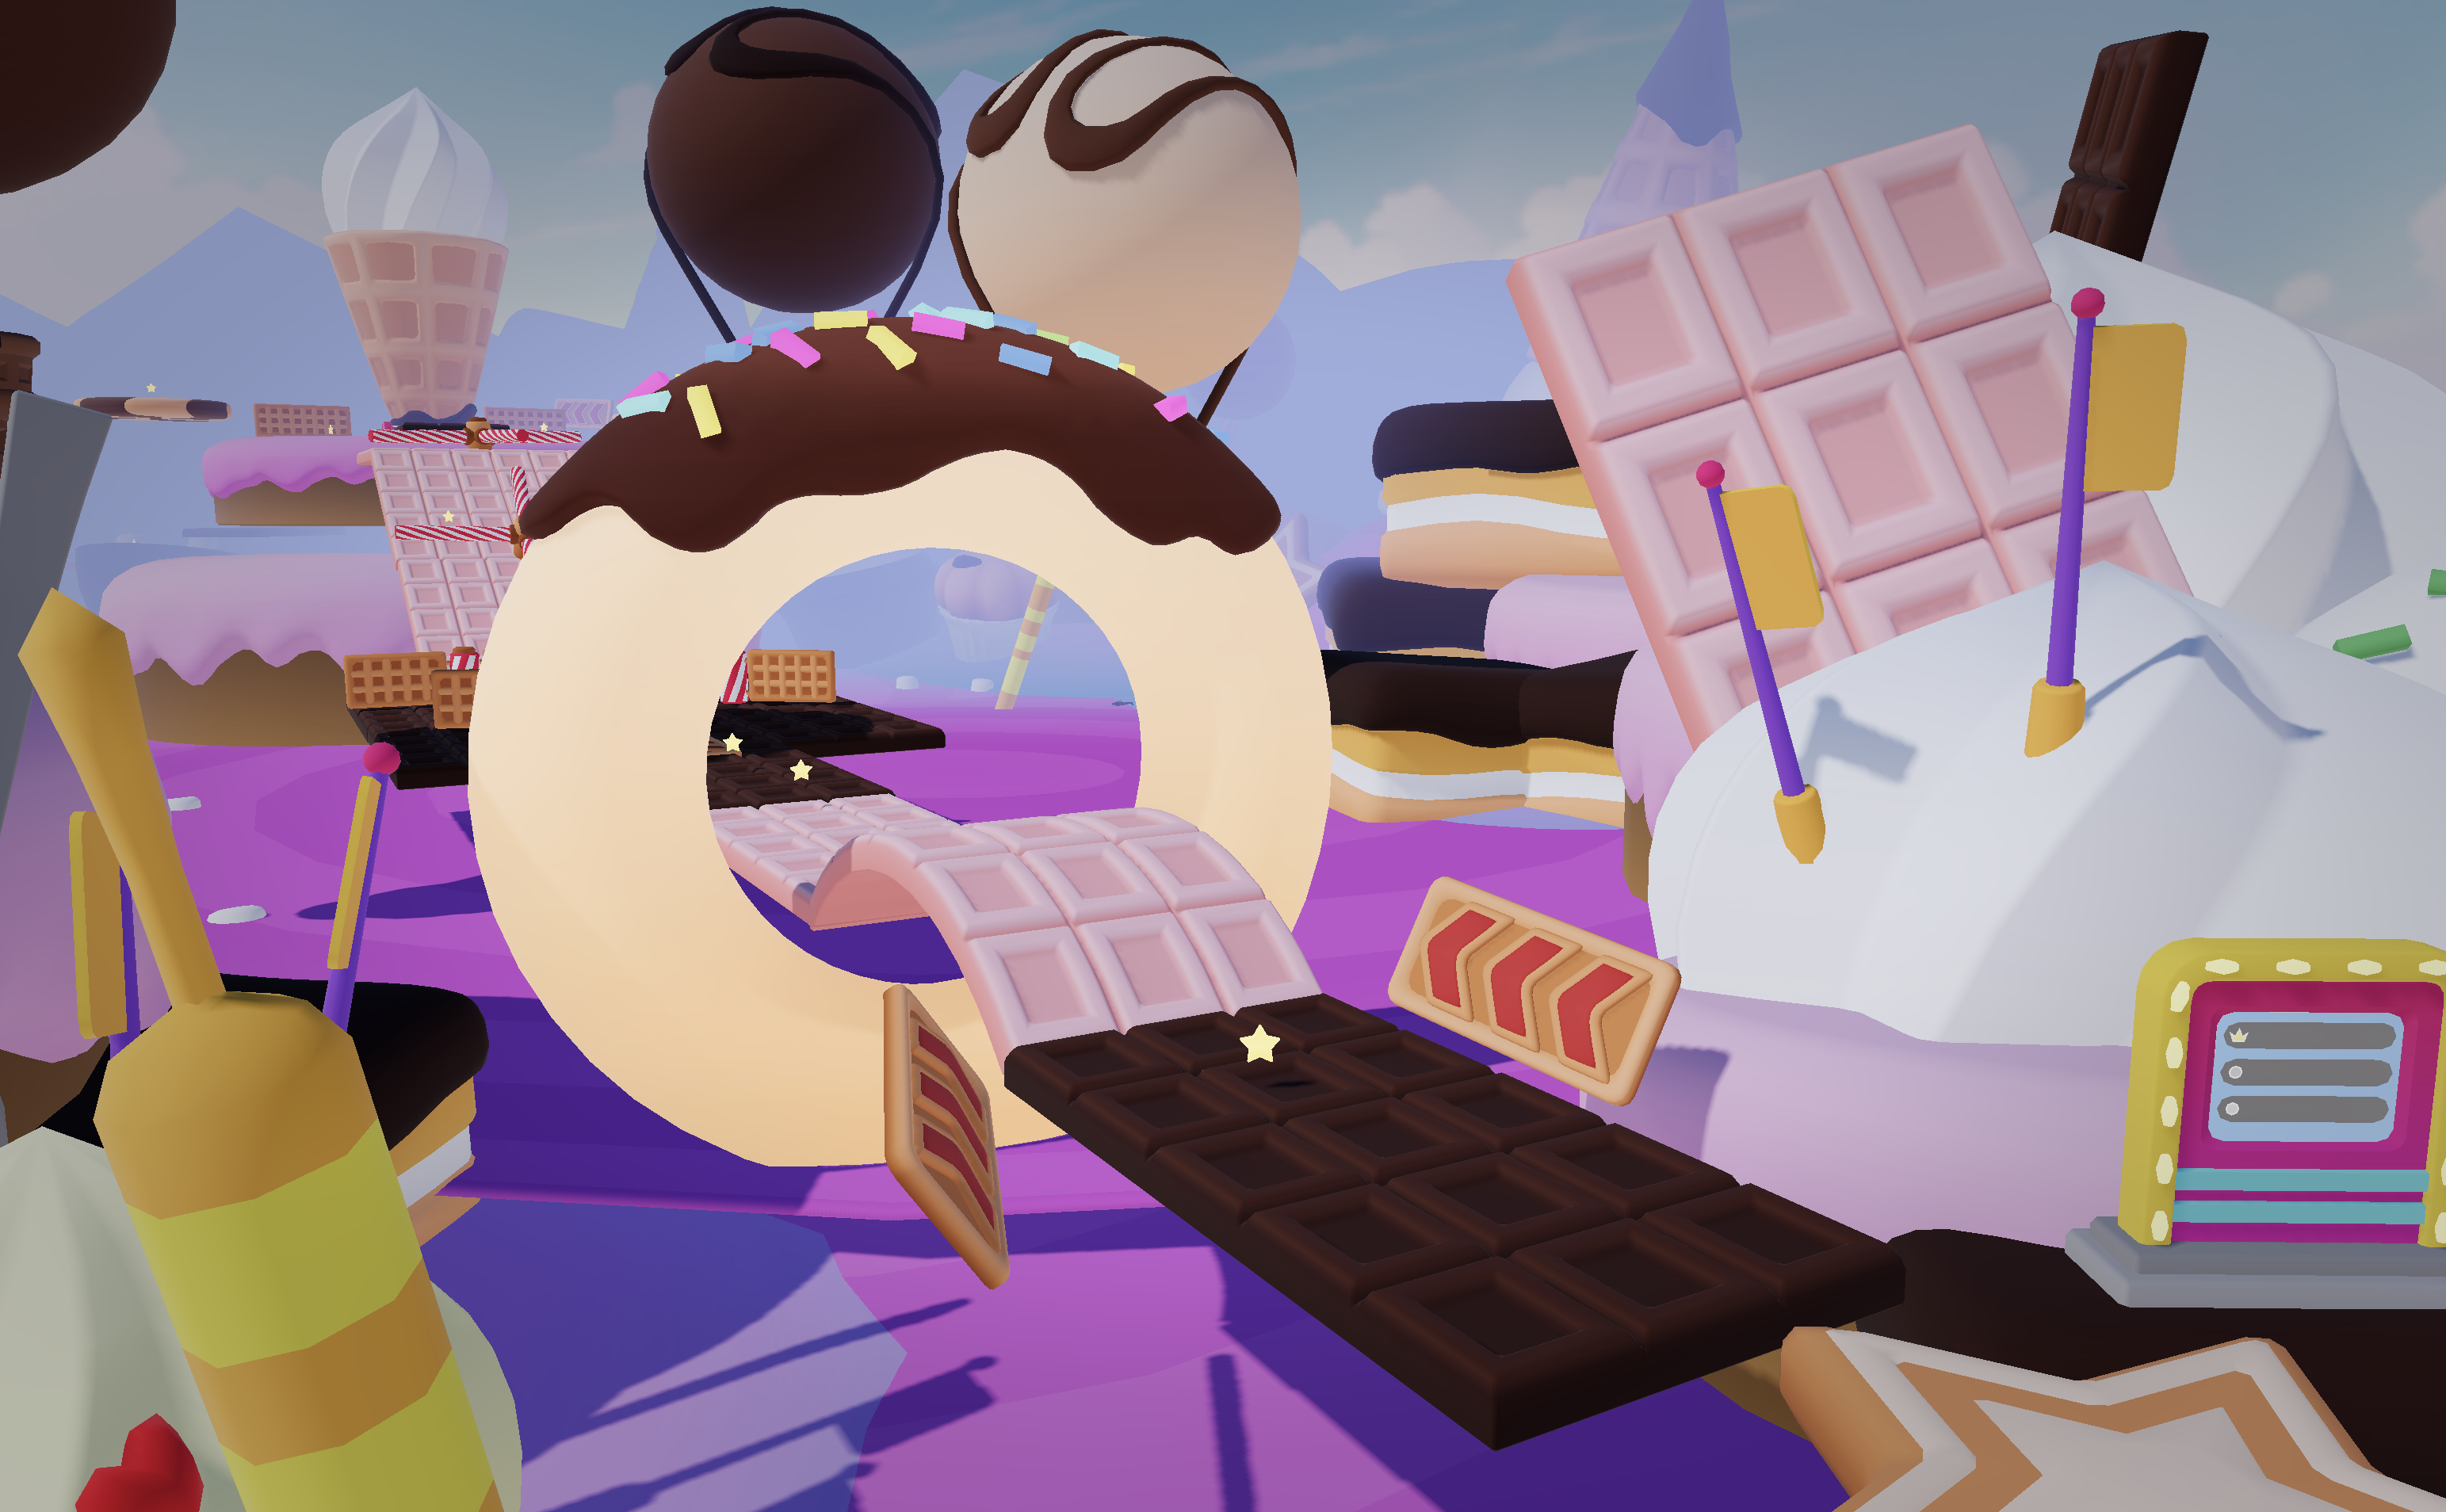
Key trade-off: Nilo’s playtest environment does not fully mirror Roblox gameplay. A model that looks fine in a standalone viewer can still fail in Roblox Studio because of collision or texture baking issues. Use Nilo’s playtest to check scale, animation, and visuals, then confirm performance in Roblox Studio’s Test mode before you publish.
Step 6: Export as FBX or glTF for Roblox
When your asset feels ready, you click Export. Nilo outputs standard 3D formats such as FBX, glTF (GLB), OBJ, and STL. FBX works best for rigged or textured meshes because it preserves hierarchy, bones, animations, and materials. GLB is a compact binary format that fits static props well.
Nilo does not lock you in. The exported file is yours and works with Roblox Studio, Unity, Unreal Engine, Blender, VRChat, and other 3D platforms. You can treat Nilo as your asset creation pipeline and continue building wherever you prefer.
Key trade-off: Nilo’s export aims to match Roblox’s rigging requirements, but you should still verify scale inside Roblox Studio after import. AI-generated assets can arrive at the wrong size because Roblox uses studs as its unit, where 1 stud is about 0.28 meters. With your FBX or GLB file ready, you are set for the final handoff.
Ready to test the full workflow? Join Nilo’s open beta and export your first Roblox-ready asset.
Step 7: Bring Your Asset into Roblox Studio
Open Roblox Studio, use the 3D Importer, which accepts FBX and GLB, and bring in your Nilo-exported file. Because Nilo already tuned polycount and texture resolution for Roblox’s limits, your import is more likely to clear moderation without the “Mesh too dense” error that often appears on raw AI outputs.

After import, run the game in Roblox Studio’s Test mode and check lighting, collision, camera distance, and mobile performance. For collision, Hull CollisionFidelity works well for most props and characters. Reserve PreciseConvexDecomposition for hero assets where exact collision shapes matter.
For flat Roblox character textures in R15 format, Nilo’s Workbench can generate Torso and Leg textures directly. You still set up full 3D layered clothing cages in Roblox Studio after export, and Nilo helps you reach that step quickly.
Key trade-off: If textures go missing after a GLB import, you can fix them by adding a SurfaceAppearance child object in Studio. Assign the ColorMap, NormalMap, MetalnessMap, and RoughnessMap from your Nilo export. You only need to do this once per asset.
As one Nilo Creator from the same survey put it: “I like how it feels like a good game engine rather than a vibe coding tool, with easy building and a good focus on being able to export and import content.”
Is Vibe Coding a Trap?
Vibe coding, where you use natural language to drive 3D creation, acts as a real workflow accelerator instead of a magic button. AI-generated 3D output is only partly game-ready, so cleanup, optimization, and engine prep still matter for hero assets or strict poly budgets. The trap comes from expecting zero effort, not from the workflow itself.
Vibe coding saves you the most time in the first 80 percent of asset creation. You get a usable base mesh, solid proportions, and initial textures without starting from a blank screen. AI tools for 3D asset creation can cut prop creation time significantly compared to modeling everything by hand, which matters if you want to focus on designing worlds instead of wrestling with polycounts.
Vibe coding in any tool works best for props, environment pieces, secondary characters, and quick prototypes. For a hero character with custom rigging, tight mechanical parts, or exact measurements, you should expect to spend extra time on optimization and rigging. Nilo reduces that time compared to a full Blender workflow but does not remove craft entirely. You still make the final design calls.
Is Vibe Coding Worth It for Your Roblox Workflow?
The value depends on what you compare it against. If your alternative is the full Meshy to Blender to Roblox Studio chain, the time savings can feel huge. A 2026 solo developer workflow using AI tools can reduce asset creation time by around 60 percent compared to similar output without AI. For builders facing the five-hour shipping container problem mentioned earlier, that reduction can decide whether you finish a world or abandon it.
When you evaluate any browser-based vibe coding workflow for Roblox asset creation, you can use these criteria:
- Browser access: Can you open it in a tab with no installation?
- Automatic retopology: Does it reduce triangle counts to Roblox limits without manual Blender work?
- One-click rigging: Does it rig bipedal characters without a separate tool?
- Direct FBX or glTF export: Does it export formats Roblox Studio accepts natively?
- Real-time multiplayer preview: Can you playtest with a friend before exporting?
| Criteria | Nilo | Roblox Studio + Meshy | Sloyd | Lemonade.gg |
|---|---|---|---|---|
| Browser access (no install) | Yes, full workflow in browser | Partial, Meshy is browser-based, Roblox Studio needs desktop install | Yes, browser-based prop generation | Partial, runs as a Roblox Studio plugin |
| Automatic retopology to Roblox limits | Yes, real-time LOD slider targets Roblox triangle caps | No, needs manual Blender retopology or a Meshy remesh step | Yes, clean-topology output with parametric controls | Limited, relies on Roblox Studio’s importer |
| One-click rigging | Yes, bipedal humanoid characters in T-pose | No, rigging needs Blender or another tool | Optional, AI auto-rigging on some plans | Not a primary feature |
| Direct FBX or glTF export | Yes, FBX, GLB, OBJ, STL | Yes, Meshy exports FBX or GLB, but you handle download and import | Yes, exports to Unity, Unreal, Blender | Limited to Roblox ecosystem |
| Real-time multiplayer preview | Yes, share a link and build and play together instantly | No, playtesting needs a full Roblox Studio session | No, asset viewer only | No, plugin-based with no standalone preview |
In the same survey, 82 percent of builders rated their Nilo experience as “Awesome” or “Good,” and 93 percent said they would recommend it to a friend. Those responses suggest the workflow fits what Roblox-focused builders want.
Frequently Asked Questions
Do I need to know Lua or any scripting to use Nilo for Roblox assets?
You do not need scripting knowledge to generate, optimize, rig, and export Roblox-ready assets in Nilo. The entire asset creation pipeline, from natural language prompt to FBX export, runs without writing code. If you want to add game logic inside Nilo’s own worlds, the built-in code editor accepts plain language instructions in any language and turns them into working code. For Roblox-specific scripting, you still use Lua inside Roblox Studio, while Nilo handles everything before that step.
How long does it take to go from prompt to Roblox-ready export?
For a typical prop such as a weapon, crate, or environment piece, the full pipeline from prompt to exported FBX usually takes a few minutes. Generation runs in seconds to under a minute, depending on complexity. Optimization with the LOD slider happens in real time. One-click rigging for a bipedal character adds only a short moment. The playtest step lasts as long as you want to keep testing. The same survey captured builders describing asset work that took five hours in Blender finishing in about 20 seconds with Nilo, especially for props and secondary assets.
What export formats does Nilo support, and which should I use for Roblox?
Nilo exports FBX, GLB, OBJ, and STL. For Roblox, FBX is the recommended choice for rigged or animated characters because it preserves bone data, hierarchy, and material information through the Roblox Studio 3D Importer. GLB works well for static props and imports cleanly as a compact file. OBJ suits very simple geometry without rigging. Roblox Studio accepts FBX and OBJ directly, and GLB imports as a MeshPart. Always double-check scale and texture assignment inside Roblox Studio after import.
Can I use Nilo for UGC accessories and avatar items, not just game props?
Yes. Nilo’s optimization targets the UGC accessory limits discussed in Step 3, including 10,000 triangles for accessories during moderation upload checks, with recommended targets of around 6,000 triangles for hair and 4,000 for hats. Nilo’s LOD slider lets you dial in the triangle count you need. For flat Roblox character textures in R15 format, Nilo’s Workbench can generate Torso and Leg textures. You still set up full 3D layered clothing cages in Roblox Studio after export, and Nilo gets you to that handoff quickly and cleanly.
When should I still open Roblox Studio after using Nilo?
Roblox Studio remains the right place for several final steps. You set up CollisionFidelity on imported MeshParts, assign SurfaceAppearance texture maps if they do not transfer automatically, build 3D layered clothing cages, add Lua scripts for game logic, configure HingeConstraints for vehicle wheels, and run final performance tests in Test mode before publishing. Nilo covers generation, optimization, rigging, animation, and export, so by the time you open Roblox Studio, your asset is already Roblox-ready and you focus on engine-specific setup instead of cleanup.
Start Building Roblox-Ready Assets Today
The seven-step pipeline here replaces the Meshy to Blender to Roblox Studio chain with a single browser tab. You describe what you want, generate it, tune it to Roblox’s triangle and texture limits, rig and animate it with one click, playtest it with friends, and export a clean FBX or GLB without breaking your creative flow or opening Blender.
As one builder from the survey said: “There are no limits on what you can create, just type, draw or add in an image and you can generate, rig, customise and place a fully 3D model within minutes.”
Nilo is in open beta and free to start, with 1,000 Nilo Bits per month on the Starter tier. You do not install anything or download a client. You just open a tab and build.
Join Nilo’s open beta and try building and playing for free.