Written by: Nuno Leiria, Founder & CEO @ Nilo | Last updated: August 6, 2026
Why Vibe Coding Roblox Scripts Feels So Different
- Vibe coding Roblox scripting lets you describe game ideas in plain English and watch AI generate working Luau instantly, so you skip syntax memorization and documentation hunting.
- Nilo shows real-time 3D feedback in a live viewport, so you see code changes immediately and iterate visually instead of guessing through blind debugging.
- The platform handles Roblox-friendly LOD (level of detail) for you, so your assets meet polygon limits without manual optimization or Blender cleanup.
- One-click export generates Roblox-ready .fbx or .glb files that import cleanly into Studio, so you avoid complex asset pipelines and import errors.
- Start building in your browser today in Nilo’s open beta at Start building in Nilo’s open beta for free.
Step 1: Set Up Your First Nilo World
Open Nilo in your browser, with no download and no install. You land inside a live 3D environment right away. Use the radial menu to set your ground, sky, and environment. Then type your first world prompt into the code editor.
Example prompt: “Create a floating island world with grass terrain, a glowing blue sky, and basic platform collisions.”
What Nilo generates:
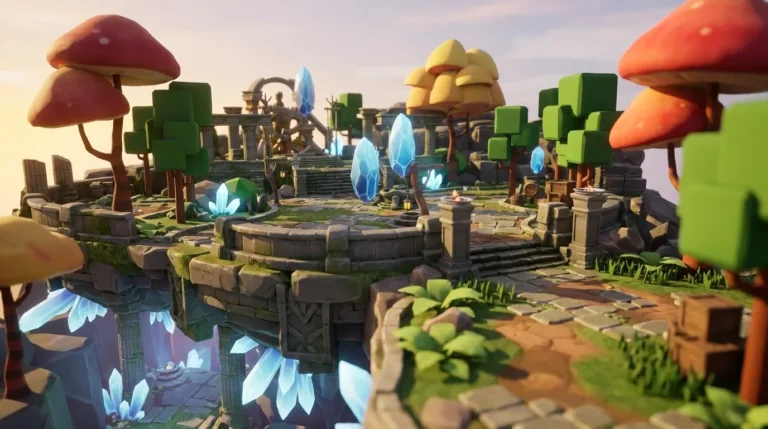
-- Nilo World Setup: Floating Island local workspace = game:GetService("Workspace") local island = Instance.new("Part") island.Size = Vector3.new(100, 5, 100) island.Position = Vector3.new(0, 50, 0) island.Anchored = true island.BrickColor = BrickColor.new("Bright green") island.Parent = workspace In the 3D viewport, you see the island appear instantly, floating, solid, and walkable. The physics simulation runs in real time. You can jump on it right away. You see the result before you export anything, which makes Nilo feel very different from pasting code into Roblox Studio.

[Suggested screenshot: Nilo’s 3D viewport showing the floating island after the first prompt, with the radial menu visible.]
Try setting up your first world in Nilo.
Step 2: Prompt Your First Game Mechanic
Your base world is ready, so now you add behavior. Type a mechanic prompt directly into Nilo’s code editor in plain words, in whatever language feels natural to you.
Example prompt: “Add a collectible gem that disappears when a player touches it and adds 10 points to their score.”
What Nilo generates:
-- Collectible Gem Mechanic local gem = Instance.new("Part") gem.Size = Vector3.new(2, 2, 2) gem.Position = Vector3.new(10, 55, 10) gem.BrickColor = BrickColor.new("Cyan") gem.Shape = Enum.PartType.Ball gem.Parent = workspace local leaderstats -- score tracking via leaderstats setup gem.Touched:Connect(function(hit) local player = game.Players:GetPlayerFromCharacter(hit.Parent) if player then player.leaderstats.Score.Value += 10 gem:Destroy() end end) The gem appears in your 3D world immediately, glowing, physical, and ready to collect. You walk your character into it and the score updates. You did not write a single line of Luau. You described what you wanted and watched it happen. That is vibe coding Luau in action.
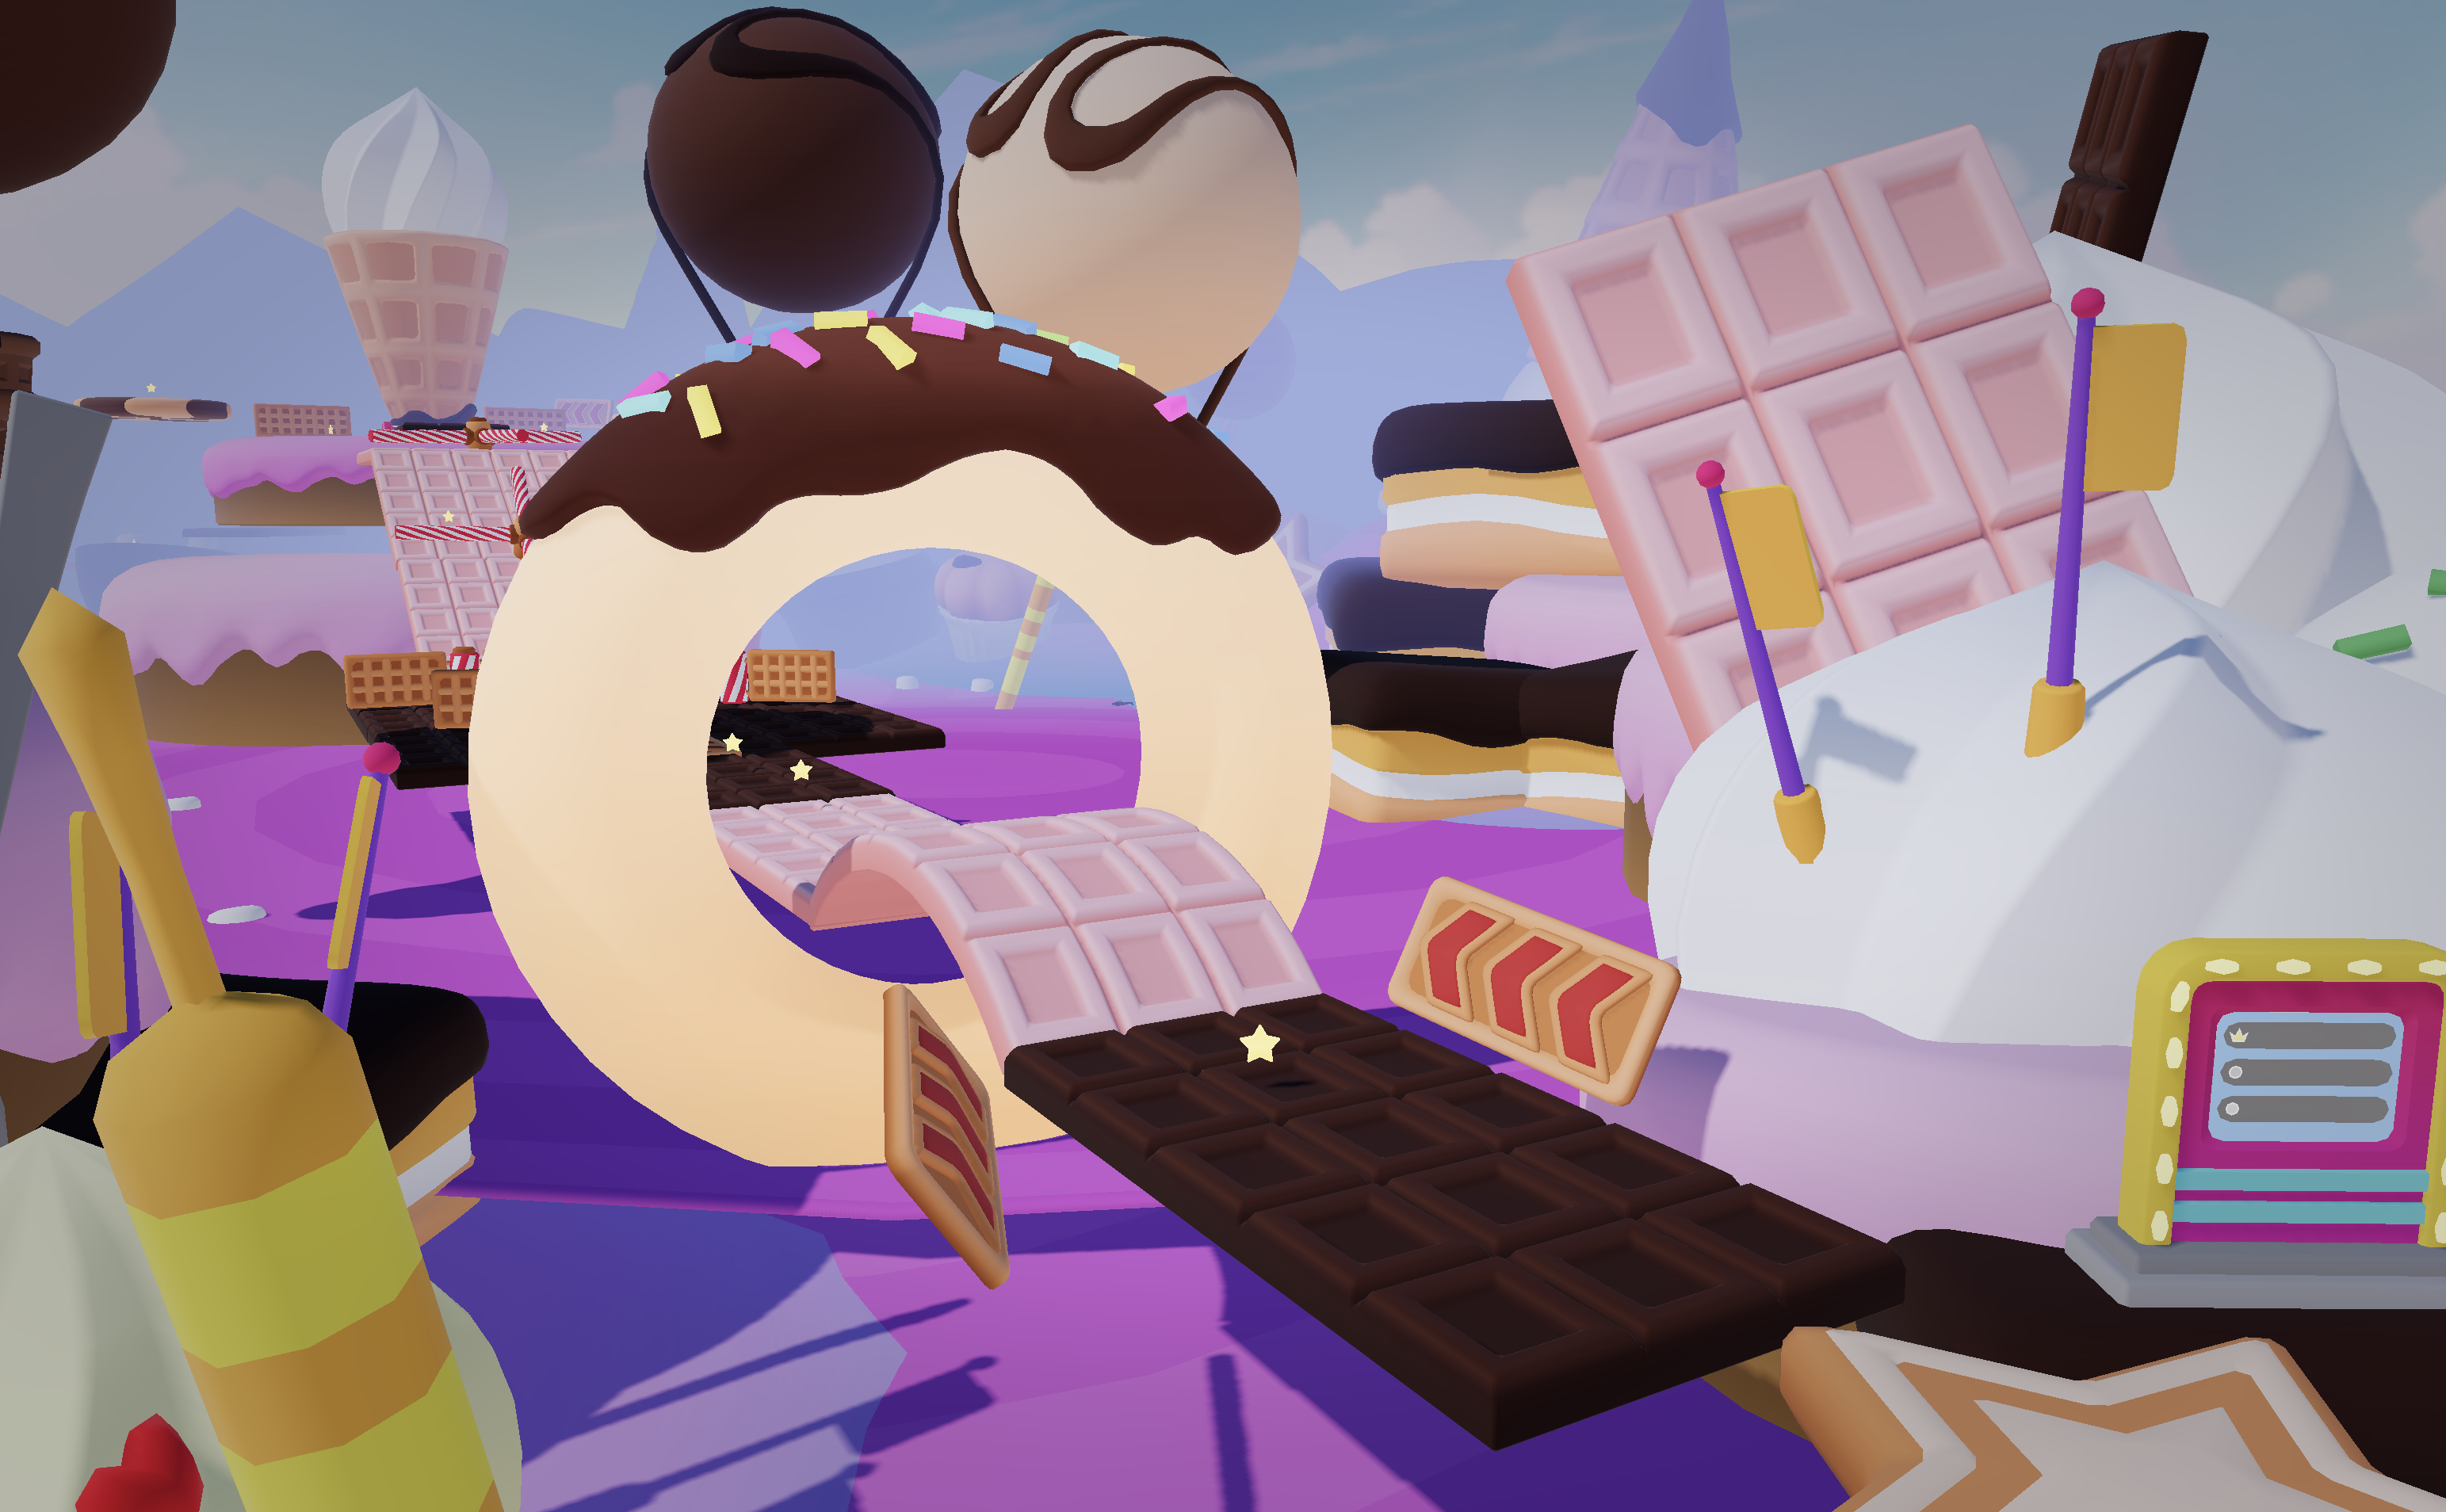
[Suggested screenshot: The gem visible in the 3D viewport, with the score counter updating in the corner.]
Step 3: Iterate with Live 3D Feedback
Strong game design comes from fast iteration. You try an idea, see how it feels, then adjust. Nilo’s real-time 3D feedback loop keeps this process quick. You change a variable directly in the code editor, like swapping speed = 2 to speed = 20, and you watch the result update live in the viewport. You can also just prompt again when you want a bigger change.
Example prompt: “Make the gems spin slowly and add a particle glow effect around them.”
What Nilo generates:
-- Gem Spin + Glow local RunService = game:GetService("RunService") RunService.Heartbeat:Connect(function(dt) gem.CFrame = gem.CFrame * CFrame.Angles(0, dt * 1.5, 0) end) local attachment = Instance.new("Attachment", gem) local particles = Instance.new("ParticleEmitter", attachment) particles.Color = ColorSequence.new(Color3.fromRGB(0, 200, 255)) particles.Rate = 20 particles.Lifetime = NumberRange.new(0.5, 1.0) The gems now spin and glow in your 3D world with no reload, no export, and no guessing. You see exactly what your players will see. One builder from Nilo’s February 2026 survey described it like this: “It helps me physically visualize any images I may have drawn and helps make my ideas actually come to life.”

[Suggested screenshot: Spinning gems with particle effects visible in the Nilo 3D viewport.]
Step 4: Debug with the Output Panel
Bugs still happen, even with AI help, so you need a clear way to fix them. In Roblox Studio, you might dig through the Output window, chase script locations, and guess which RemoteEvent misfired. In Nilo, the Output panel shows errors in plain language and lets you prompt a fix directly.
Example prompt: “The score is not updating. Fix the leaderstats connection so it works for all players joining the game.”
What Nilo generates:
-- Fixed Leaderstats Setup local Players = game:GetService("Players") Players.PlayerAdded:Connect(function(player) local leaderstats = Instance.new("Folder") leaderstats.Name = "leaderstats" leaderstats.Parent = player local score = Instance.new("IntValue") score.Name = "Score" score.Value = 0 score.Parent = leaderstats end) The Output panel highlights the fix, and you see the score update correctly in the 3D viewport for every new player. You avoid copy-pasting into Studio and wondering if the script sits in the right service. Nilo wires the logic for you while you stay focused on how the game feels.

Security still matters when money and player data enter the picture. Any script handling purchases, damage, or DataStore writes must run on the server and be triggered via RemoteEvent, so you never trust client input. When you export to Roblox Studio, review AI-generated scripts and confirm that every RemoteEvent argument is validated on the server with strict type checks before any game-state mutation occurs. Nilo’s code editor generates server-side logic by default, but you should always verify before publishing.
[Suggested screenshot: Nilo’s Output panel showing the error message and the corrected script side by side.]
Debug your game in real time with Nilo.
Step 5: Export with LOD and Upload to Roblox Studio
Once your world feels playable, you prepare it for Roblox. This is where Nilo’s LOD system does the heavy lifting for performance. LOD, or level of detail, automatically reduces polygon counts on your assets so they meet Roblox’s strict performance limits, usually around 10,000 to 20,000 polygons per mesh. You avoid manual Blender cleanup and constant polycount stress.
Example prompt: “Optimize all assets for Roblox export and prepare the world file.”
What Nilo does: The LOD slider adjusts mesh complexity in real time. You see the optimized versions in the 3D viewport before you export. When you feel good about the balance between detail and performance, you click Export and Nilo generates a Roblox-ready .fbx or .glb file.
Then you open Roblox Studio and use File, Import, and select your Nilo export. Because Nilo’s LOD system has already simplified your assets, they arrive clean and ready to publish. You avoid retopology, import errors, and daisy-chaining Meshy, Blender, and Studio just to get a single model into your game.

As another builder from the same survey put it: “I like how it feels like a good game engine rather than a vibe coding tool, with easy building and a good focus on being able to export and import content.”
[Suggested screenshot: The Export button in Nilo’s interface, with the LOD slider visible and the polygon count displayed.]
How Nilo Fits Among Other Roblox Creation Tools
You can compare vibe coding tools for Roblox by looking at four things: real-time 3D feedback, automatic Roblox-friendly LOD, one-click export, and browser access with no installation.
Nilo stands out by bringing all four into one workflow. You build, script, iterate, and export without leaving the browser. The code editor accepts natural language in any language. The LOD system respects Roblox’s polygon caps automatically. The whole experience aims to feel like playing a game, not wrestling with a tool, which Nilo calls the “Iron Man, not Wall-E” philosophy. You get superpowers and co-create with AI instead of watching AI build everything for you.
Roblox Studio is powerful and built specifically for Roblox publishing. It needs installation, desktop hardware, and Luau scripting knowledge before you can make interactive experiences. Roblox Assistant supports natural language prompts for code improvement and debugging, but it does not give you real-time 3D feedback outside Studio, automatic LOD, or full browser access. It works well for experienced developers, while it can feel like a steep wall when you just want something playable quickly.
Rosebud AI runs in the browser and focuses on AI code generation. It does not provide a full 3D game engine feel, Roblox-specific LOD, or the kind of hands-on building environment that makes iteration feel immediate.
Replit supports vibe coding for many programming languages and can generate Luau with the right prompts. It has no 3D viewport, no Roblox-focused LOD, and no one-click export to Roblox Studio.
Blender gives you precise 3D modeling control and remains free. The learning curve often takes months. It has no AI code editor, no real-time Roblox feedback, and no direct export pipeline, so you still need to optimize and import into Studio by hand.
Unity offers a browser-based editor and supports 3D creation without coding. It is not tuned for Roblox’s specific polygon and texture requirements, and its core product targets professional teams more than aspiring builders or already builders like you.
When you look at any tool, ask yourself if it shows 3D results in real time as you script, handles Roblox’s polygon limits automatically, exports directly to Roblox Studio in one click, and runs in a browser without installation. The more boxes a tool checks, the less time you spend fighting technical problems and the more time you spend building worlds.
Frequently Asked Questions
Do I need to know Luau or any coding to vibe code in Nilo?
You can start vibe coding in Nilo with zero Luau knowledge. Nilo’s code editor accepts plain language, so you type what you want your game to do and Nilo generates working Luau instantly. You can also tweak real code variables directly in the editor, like changing a speed value from 2 to 20. That approach helps you learn real programming concepts without pressure while you stay in control.
How does Nilo’s LOD system work for Roblox exports?
As mentioned in Step 5, LOD in Nilo keeps your meshes within Roblox-friendly complexity. You control this with a slider that updates the model in real time, so you see the optimized version in your 3D viewport before export. When you click Export, the file already matches Roblox’s performance needs, so you skip extra cleanup in Blender.
Can I use Nilo-generated scripts safely in a published Roblox game?
You can use Nilo-generated scripts safely when you review them before publishing. Make sure any logic involving purchases, damage, or player data runs on the server, not the client. Validate all RemoteEvent arguments on the server with type checks before any game-state changes. Add rate limiting to block exploit spam. Nilo generates server-side logic by default, and a quick review in Roblox Studio’s Output console gives you extra peace of mind.
What file formats does Nilo export, and which platforms are compatible?
Nilo exports to FBX, OBJ, STL, and glTF, which are standard 3D formats compatible with Roblox Studio, Unity, Unreal Engine, Blender, and VRChat. Nilo does not lock you in. You can treat it as an asset and scripting pipeline for Roblox or build and publish playable worlds directly inside Nilo.
Is Nilo free to use?
Nilo is currently in open beta and free to use. You get 1,000 Nilo Bits per month, which are the credits that power AI generation, export, and creation features. Many core building tools use no Bits at all. You can also earn more Bits through Nilo Rewards by referring friends and building with the community.
Start Vibe Coding Roblox Scripts Today
You can follow this 5-step workflow right away. Set up a Nilo world in your browser. Prompt your first mechanic in plain English. Iterate with real-time 3D feedback. Debug with the Output panel. Export with automatic LOD and upload to Roblox Studio. You skip hiring a scripter, detouring through Blender, and installing heavy software.
The February 2026 survey also found that 93% of builders said they would recommend Nilo to a friend, and 82% rated their experience as “Awesome” or “Good.” One builder summed it up like this: “You made me enjoy vibe-coding. The code assistance works almost flawlessly, other experiences have just been frustrating at best.”
You already have the game ideas and the building skills. Vibe coding Roblox scripting in Nilo removes the main barrier between your imagination and a playable world. Creation starts to feel like play, and you can try it in your browser right now.